Getting Started with Timeline
This guide walks you through building your first timeline from start to finish — exactly what to click, what to select, and what happens at each step. The whole flow is shown in the looping demo below; the steps beneath it break it down.
- A Judicio account with an active subscription or free trial
- At least one document in your File Library (PDF, DOCX, or a scan)
- Enough credits for the pages you'll process — your balance is shown in the top bar. See Credits Explained.
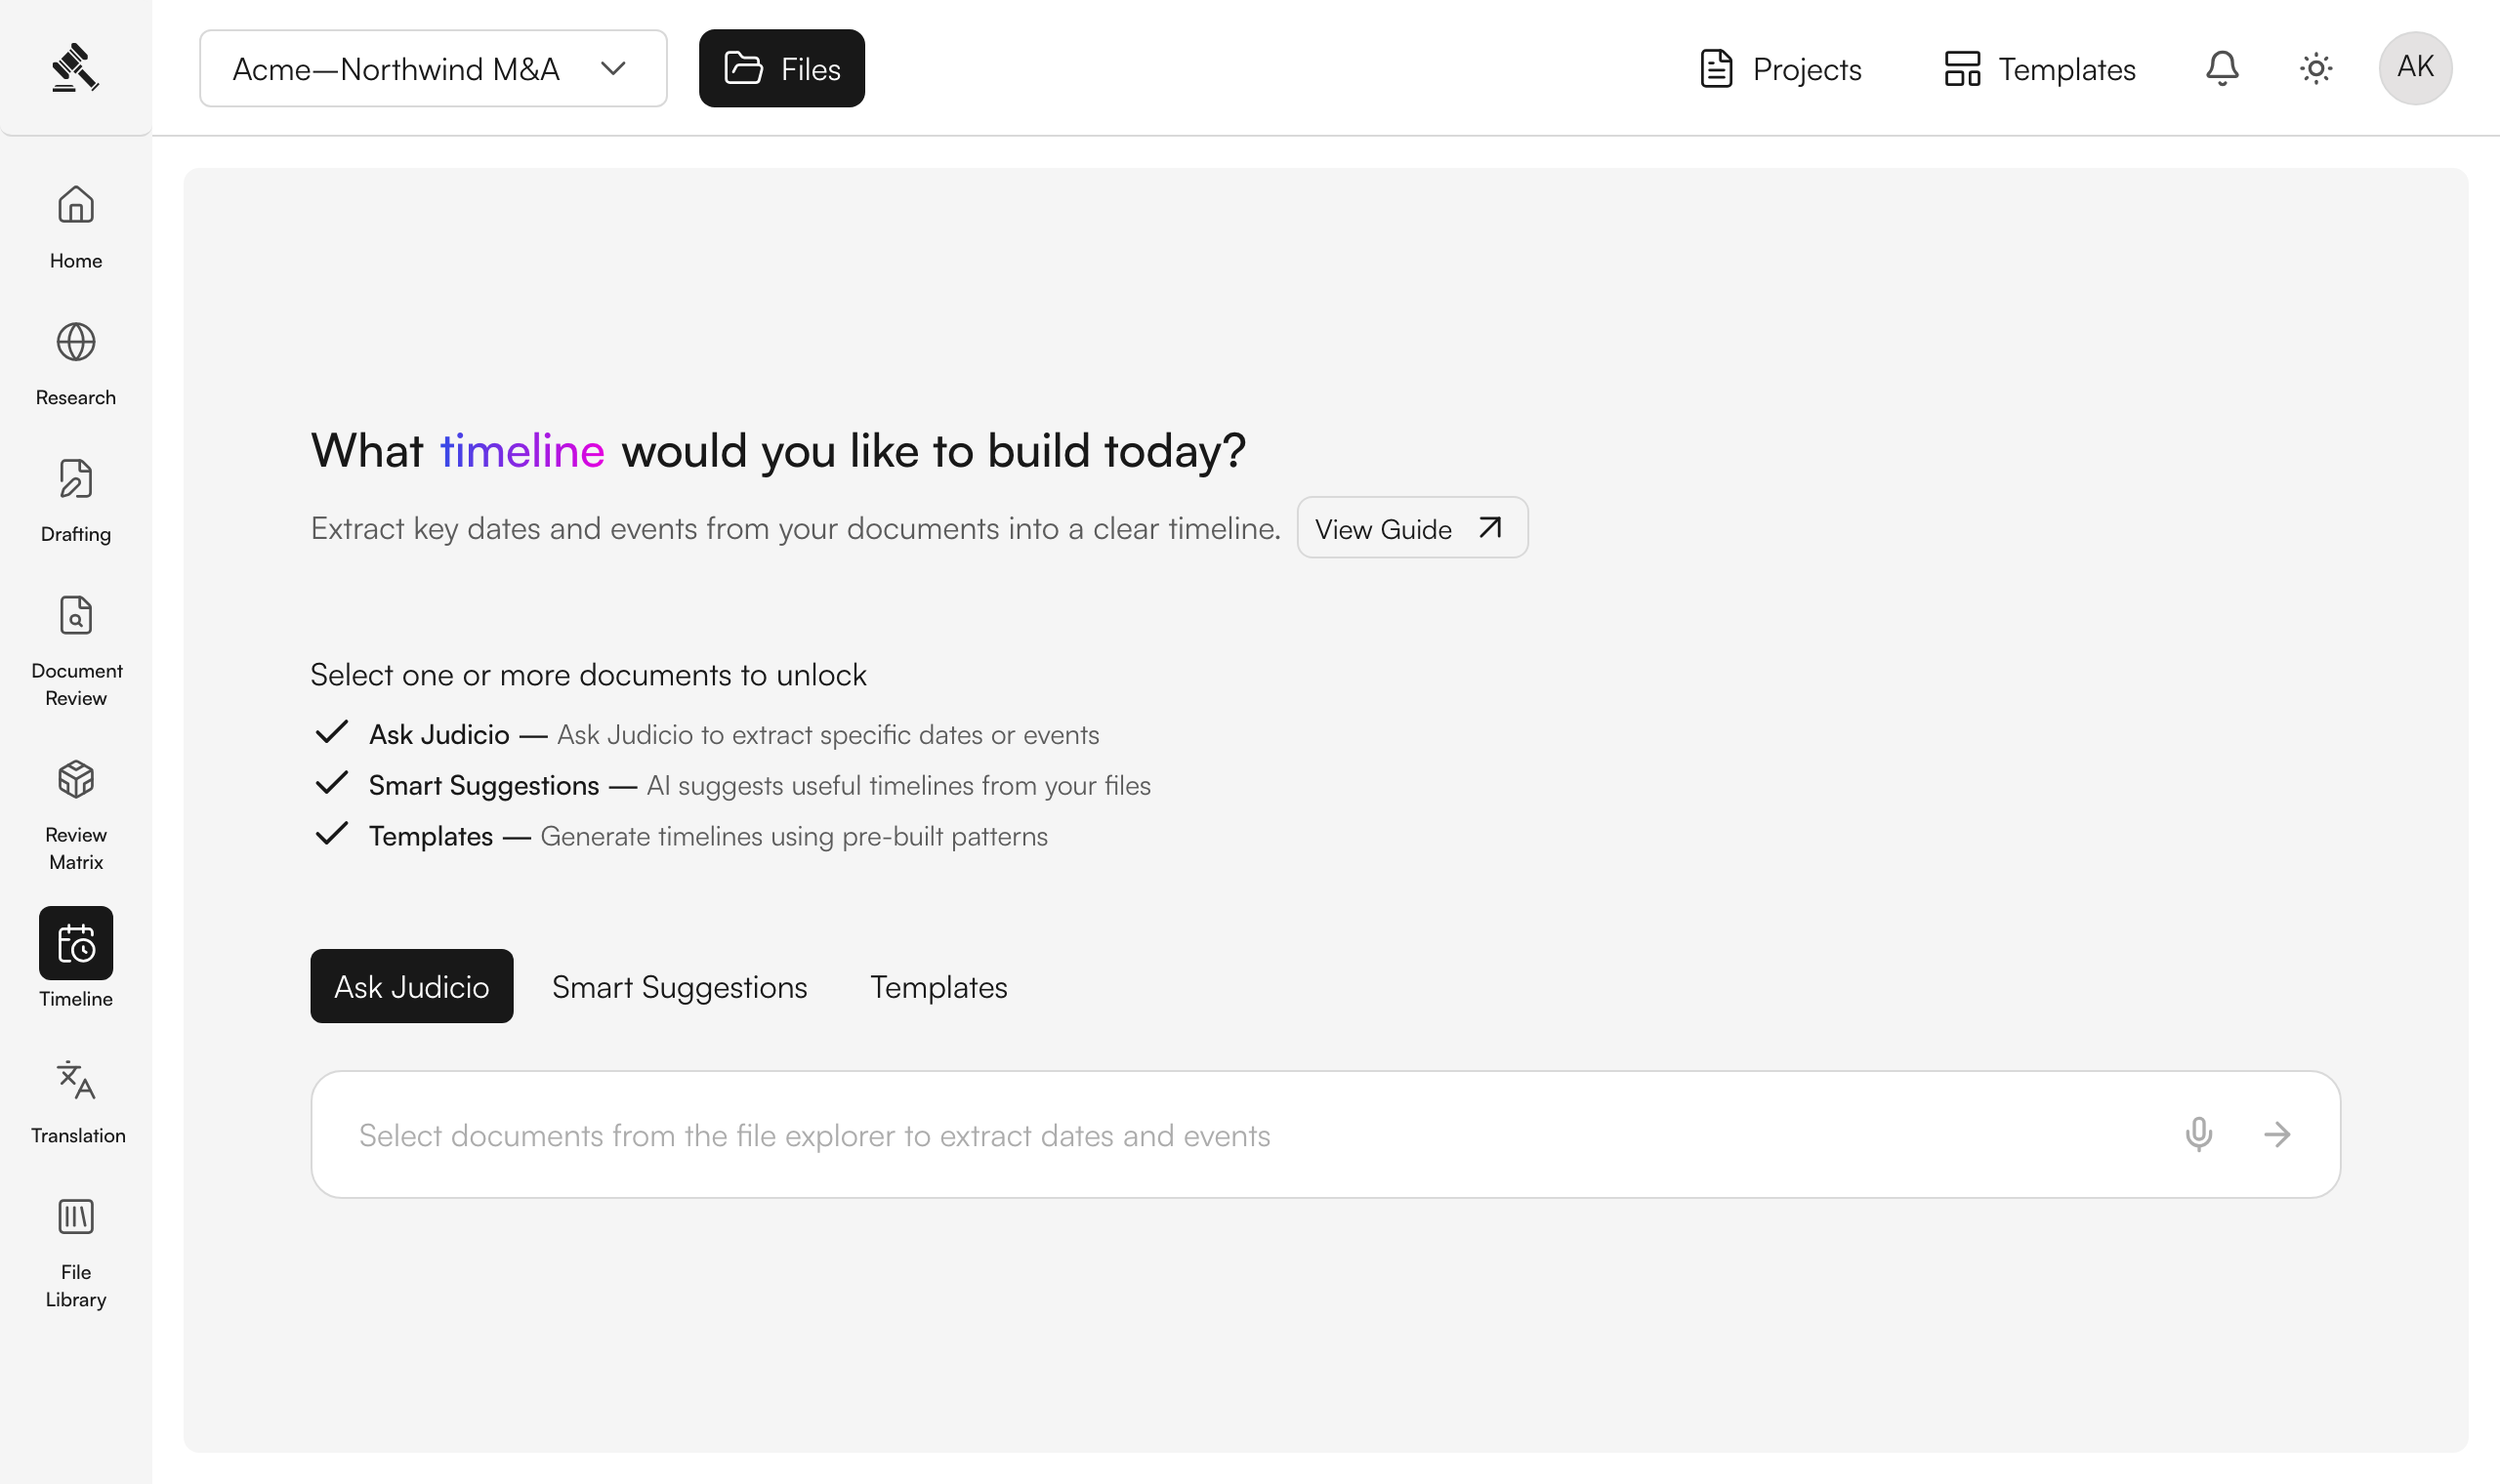
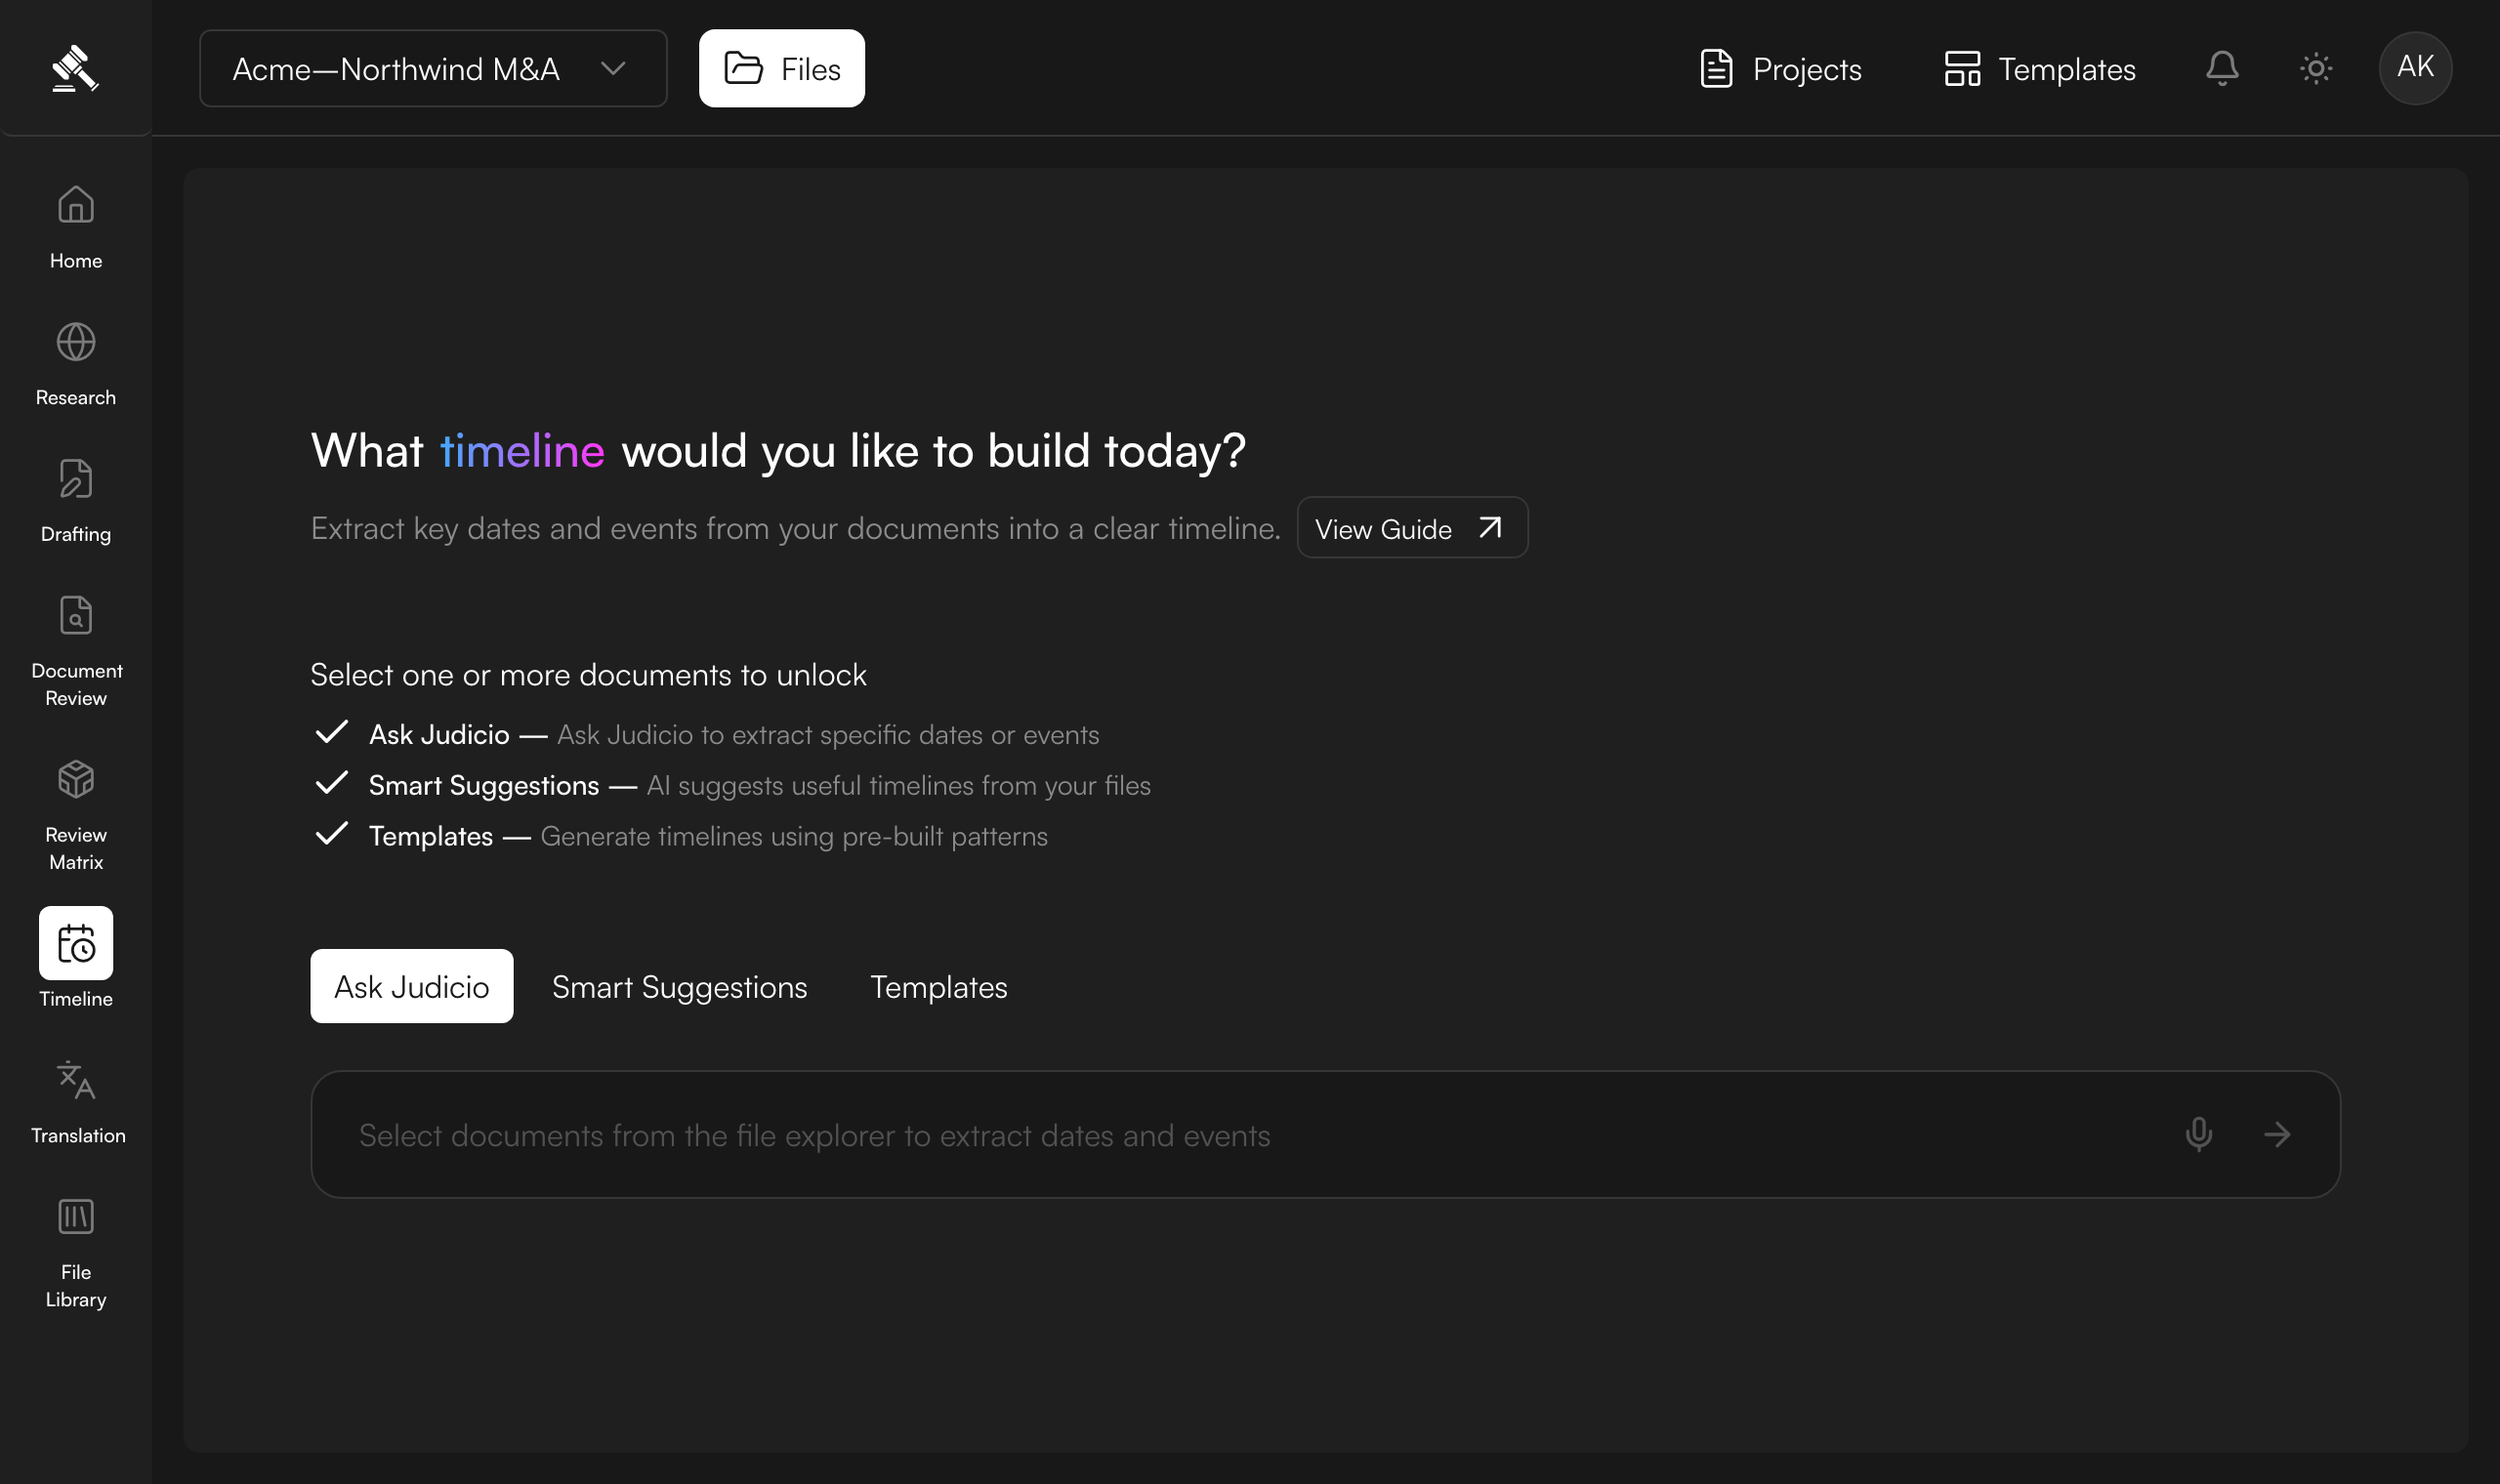
Open Timeline
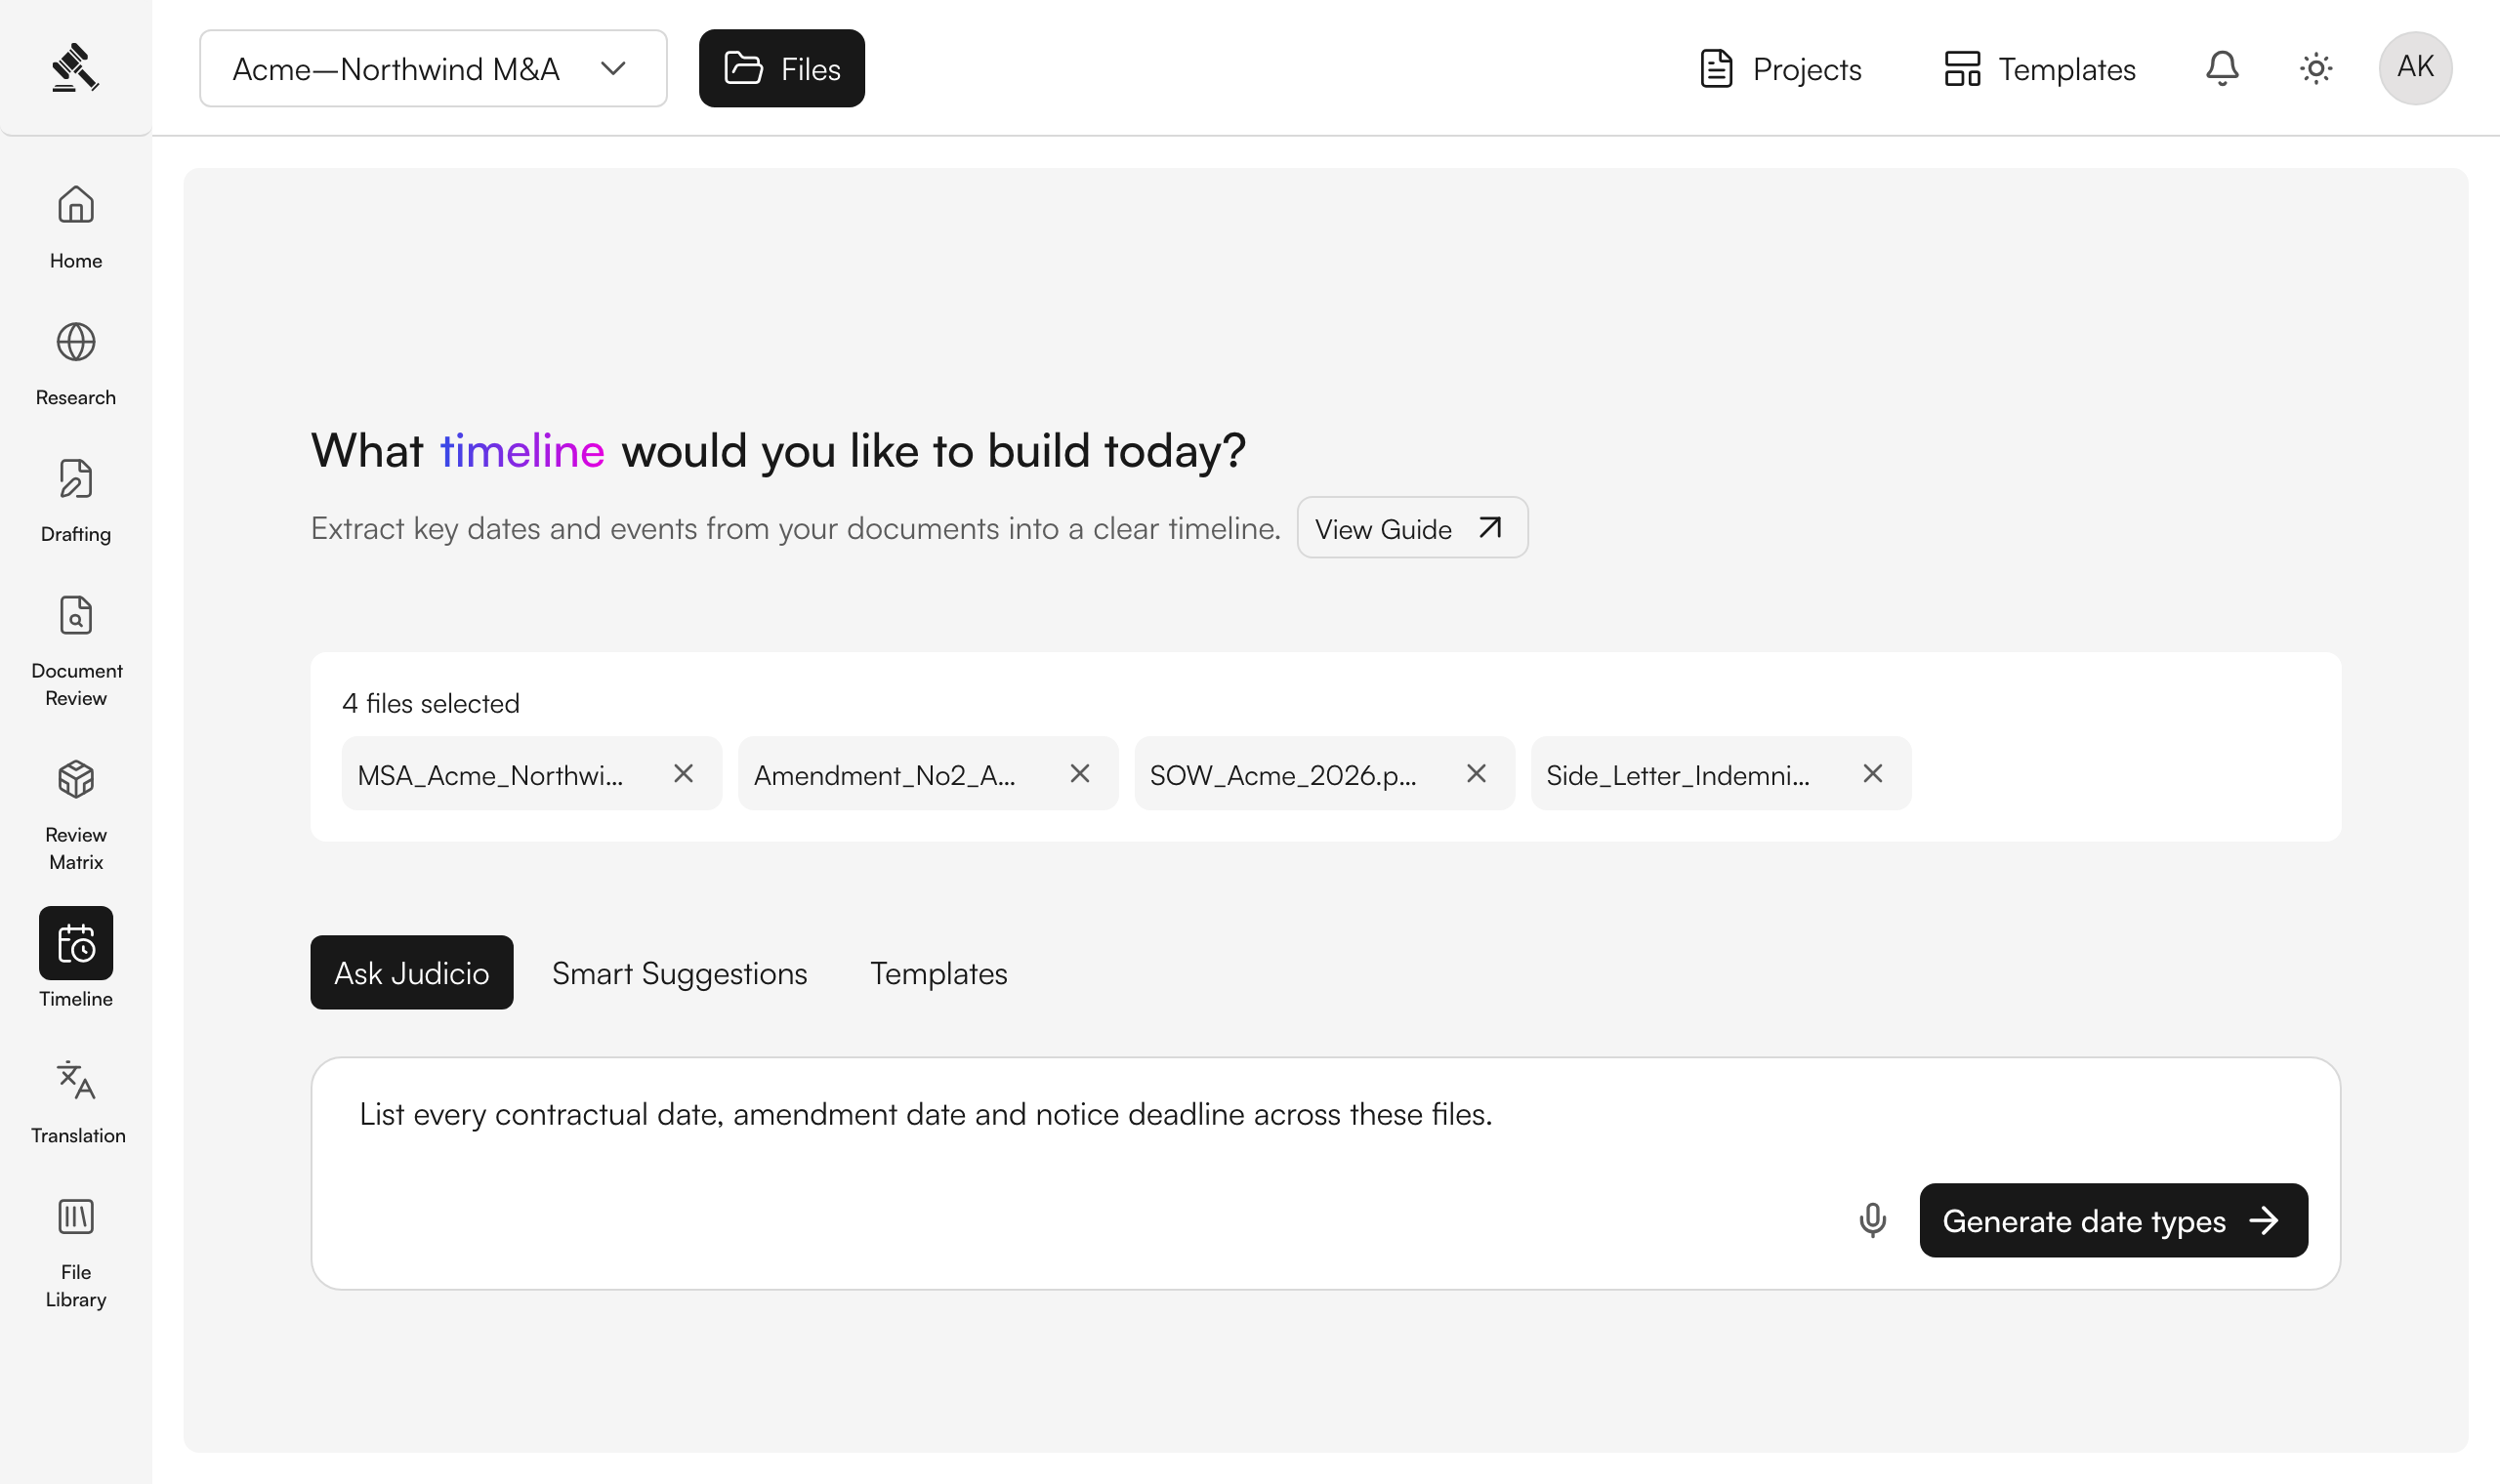
Click Timeline in the left sidebar. You land on the Timeline home: a prompt that reads "What timeline would you like to build today?", the three ways to start (Ask Judicio, Smart Suggestions, Templates), and the composer at the bottom.
Until you select documents, the composer is disabled and reads "Select documents from the file explorer to extract dates and events."
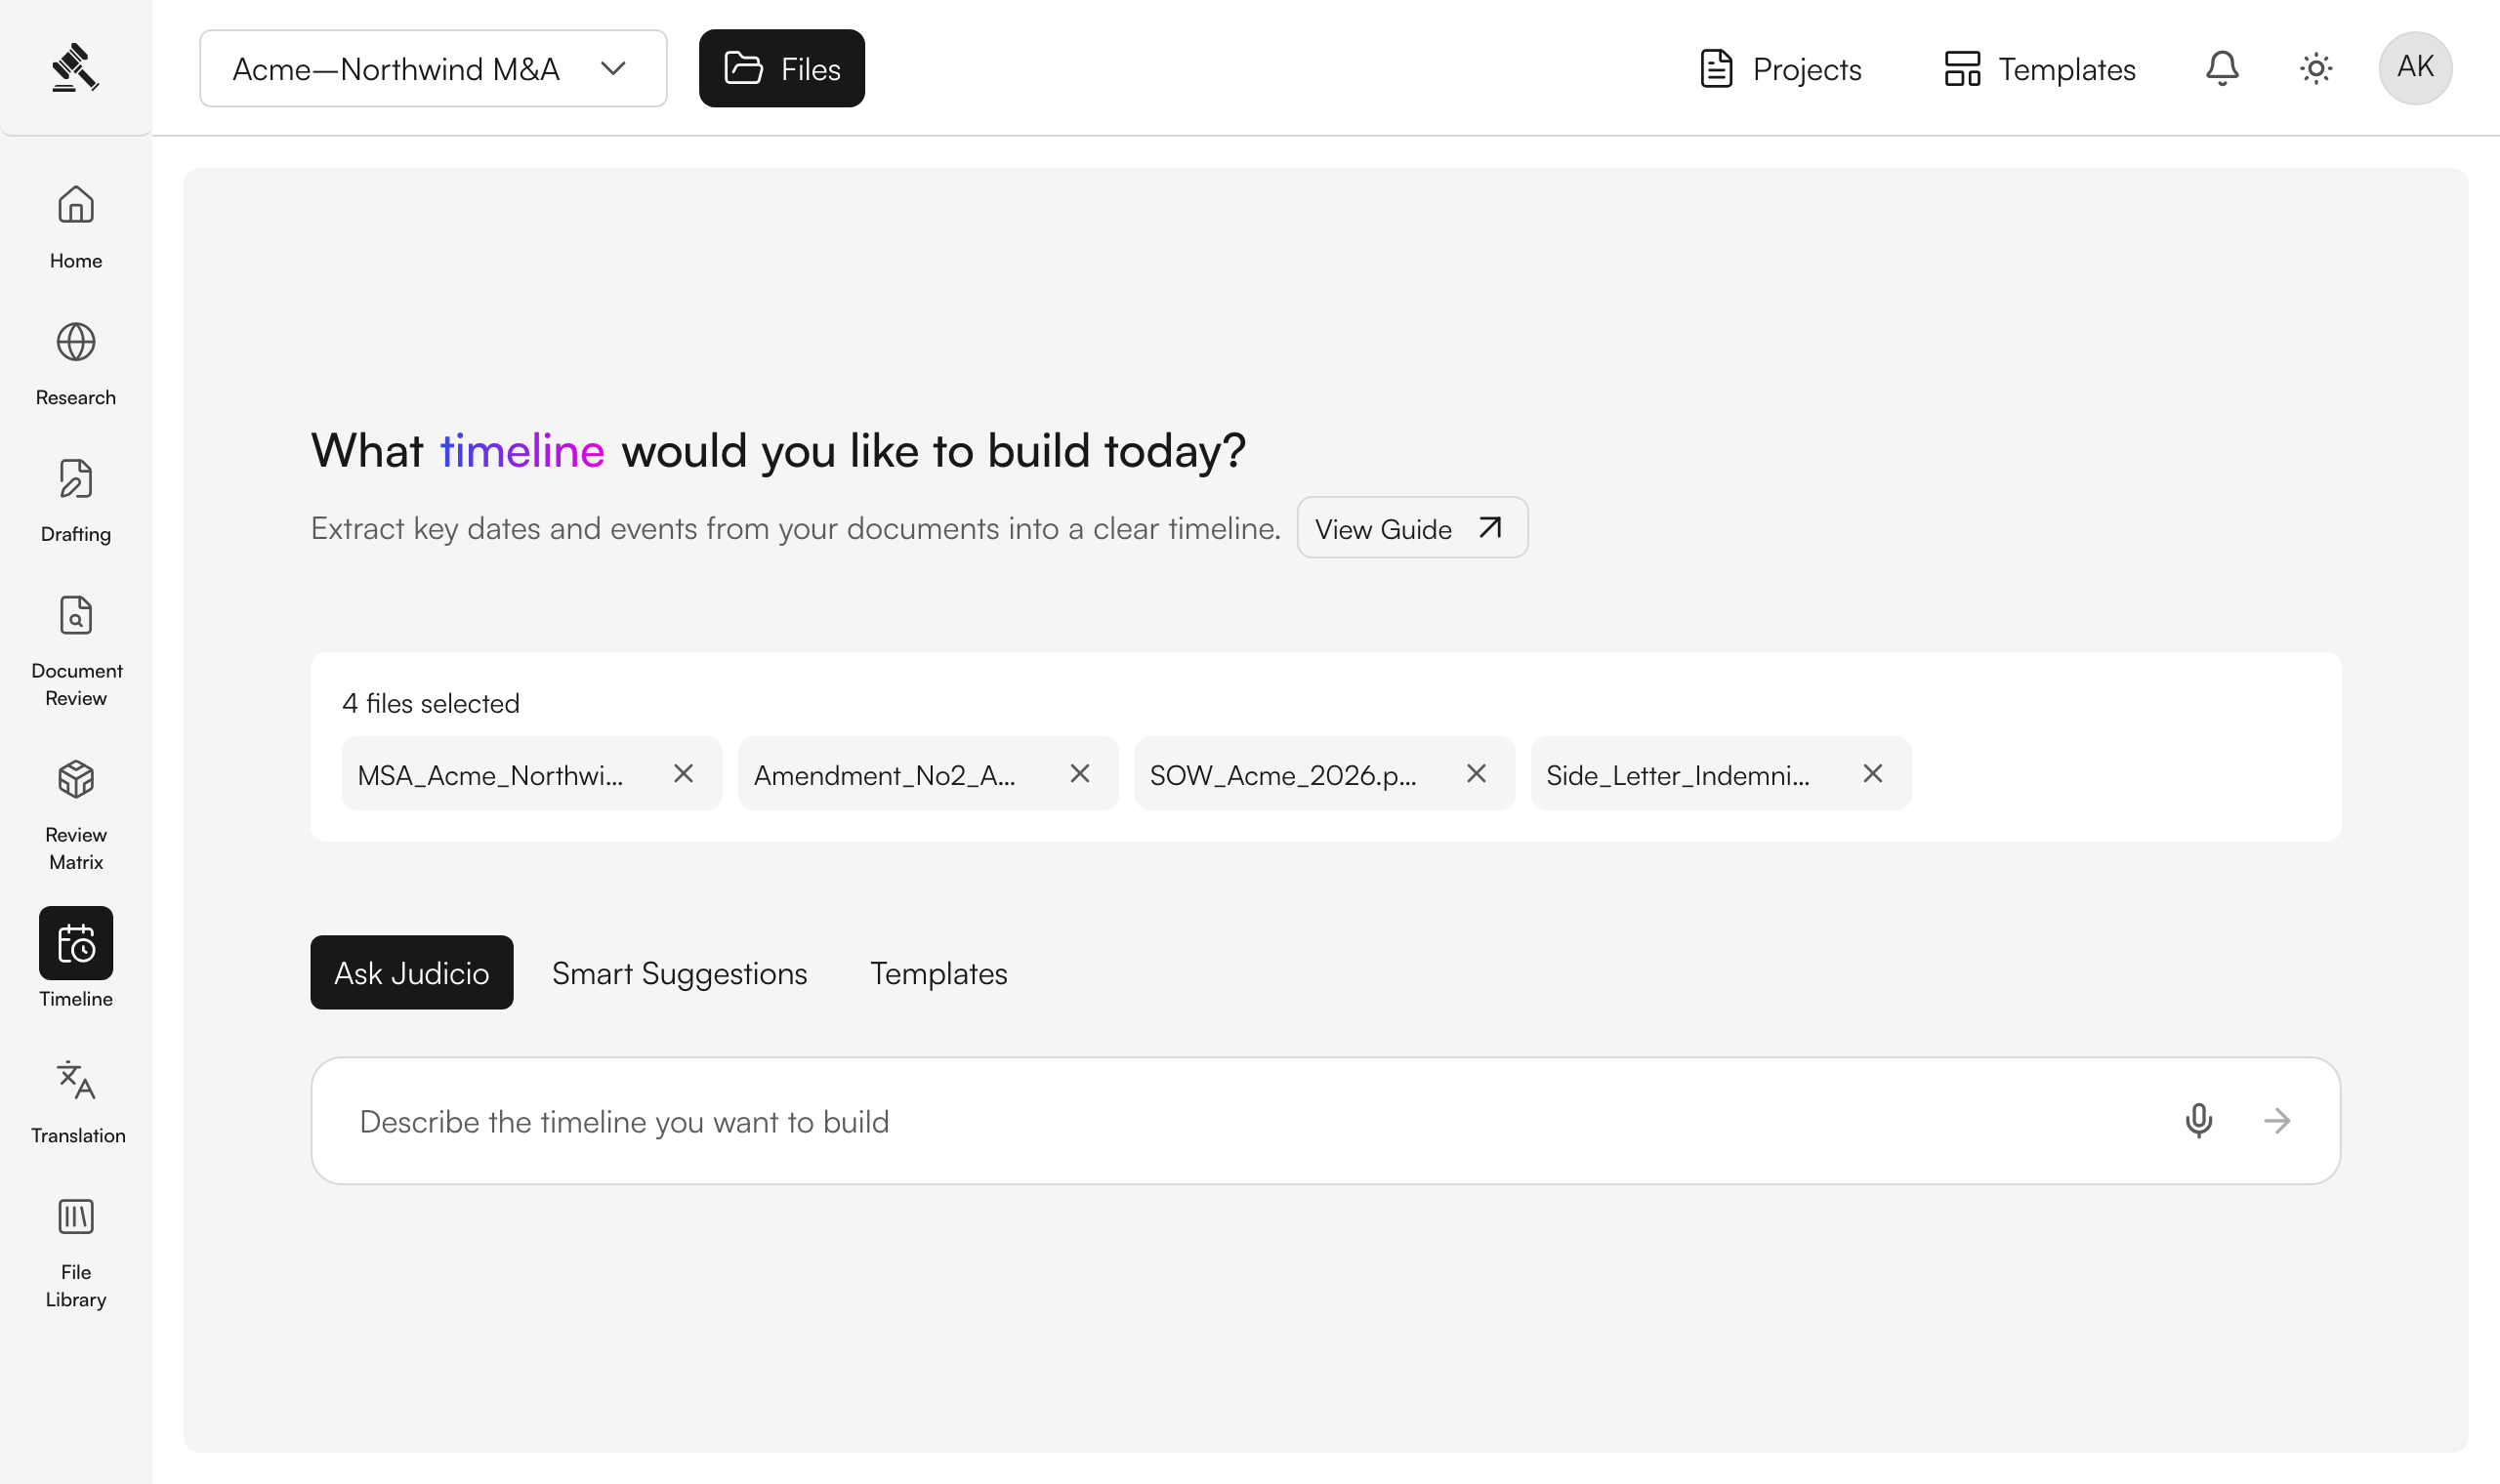
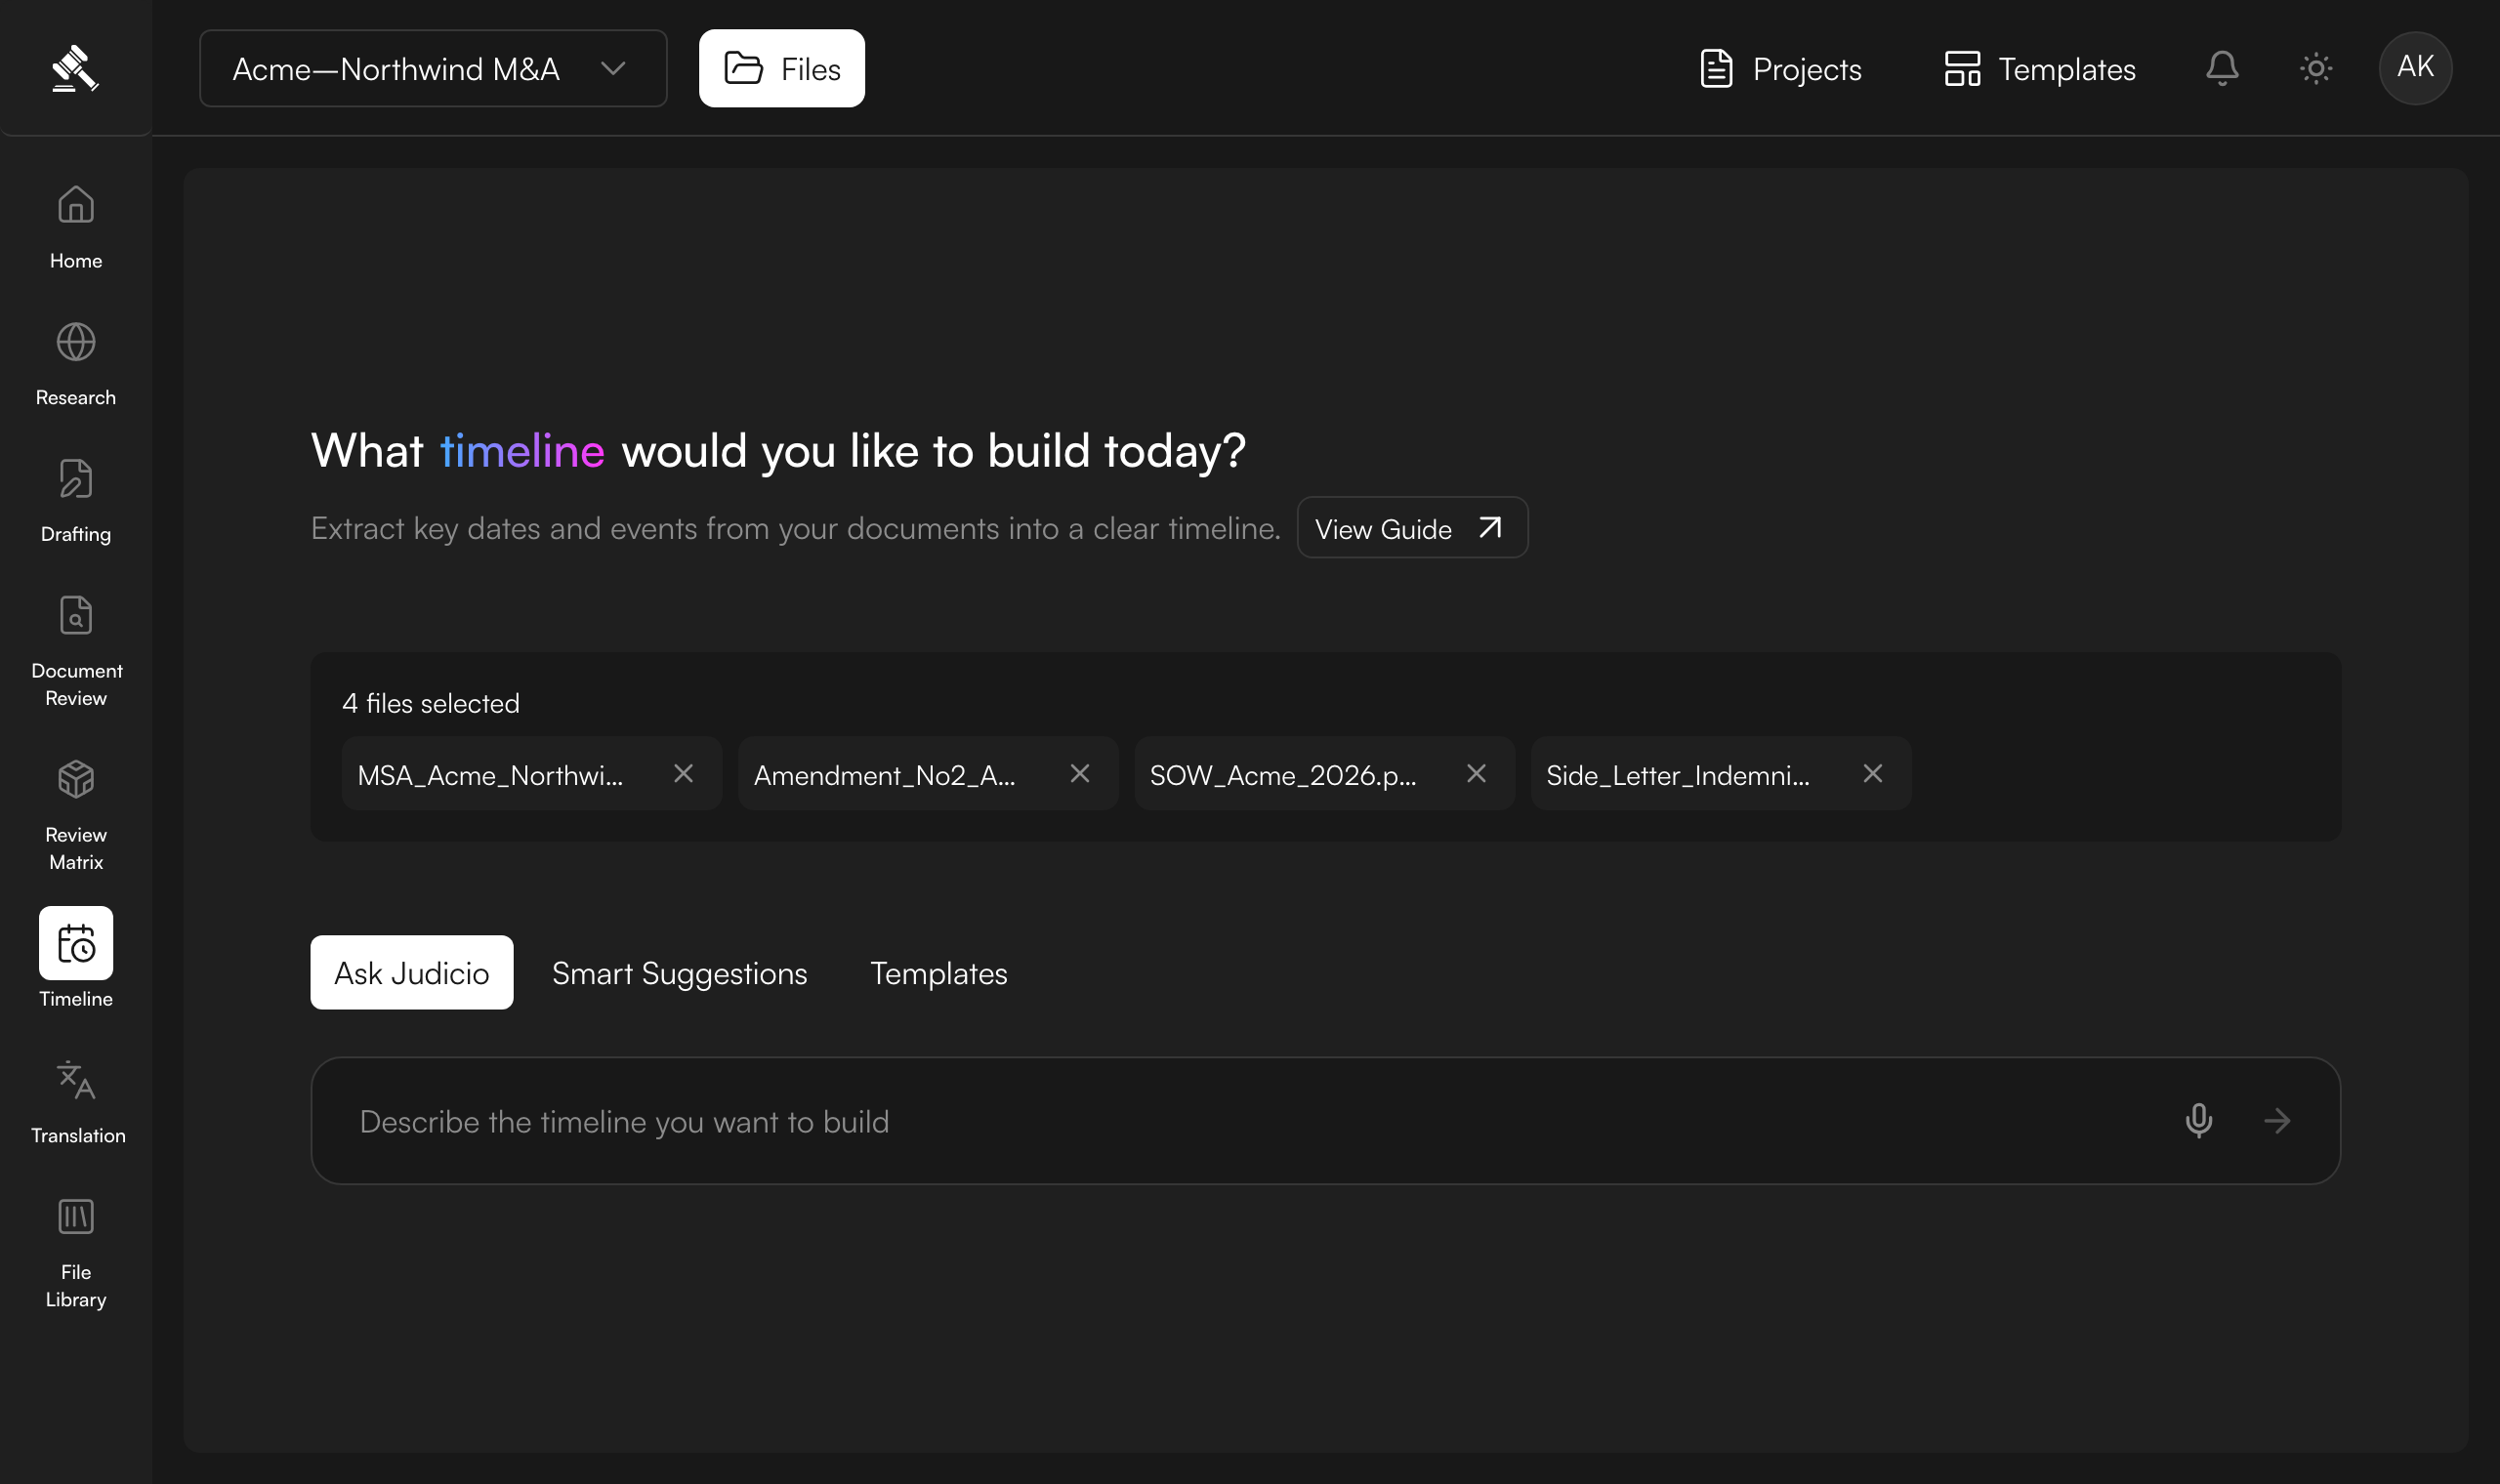
Select your documents
Open the Files panel (the Files button in the top bar) and tick the documents you want to build the timeline from — one file, or multiple files at once. Each selected file appears as a chip ("4 files selected"), and you can remove one with its ✕.
As soon as at least one file is selected, the composer becomes active.
Timeline merges dates across every selected file into one chronology and tracks which date came from which document — so select all the files for the matter, not just one.
Describe the timeline you want
On the Ask Judicio tab, type what you're after in plain language — for example:
List every contractual date, amendment date and notice deadline across these files.
You can also dictate it with the microphone button. When you're ready, click Generate date types (the arrow button).
Prefer not to type? Switch tabs:
- Smart Suggestions — Judicio proposes useful timelines from your selected files; pick one to use it.
- Templates — browse expert date-set templates (plus your saved and shared ones) and pick one.
Review the suggested date types
Judicio reads your request and proposes a set of date types to extract — for example Contractual dates, Notice deadlines, Amendments. Each is shown with a short description and a checkbox.
- Toggle the types you do or don't want.
- Edit or add a type to fine-tune it.
- Toggle Deep Mode on for a thorough pass, or leave it off for fast screening.
When the list looks right, click Generate timeline.
Confirm the estimate
Before any credits are spent, Judicio shows a confirmation — titled "Confirm timeline extraction" — with the files and pages, the date types, the estimated time, and the credit cost. You can flip Deep Mode here too. Review it and click Start timeline to begin — or go back to adjust your selection.
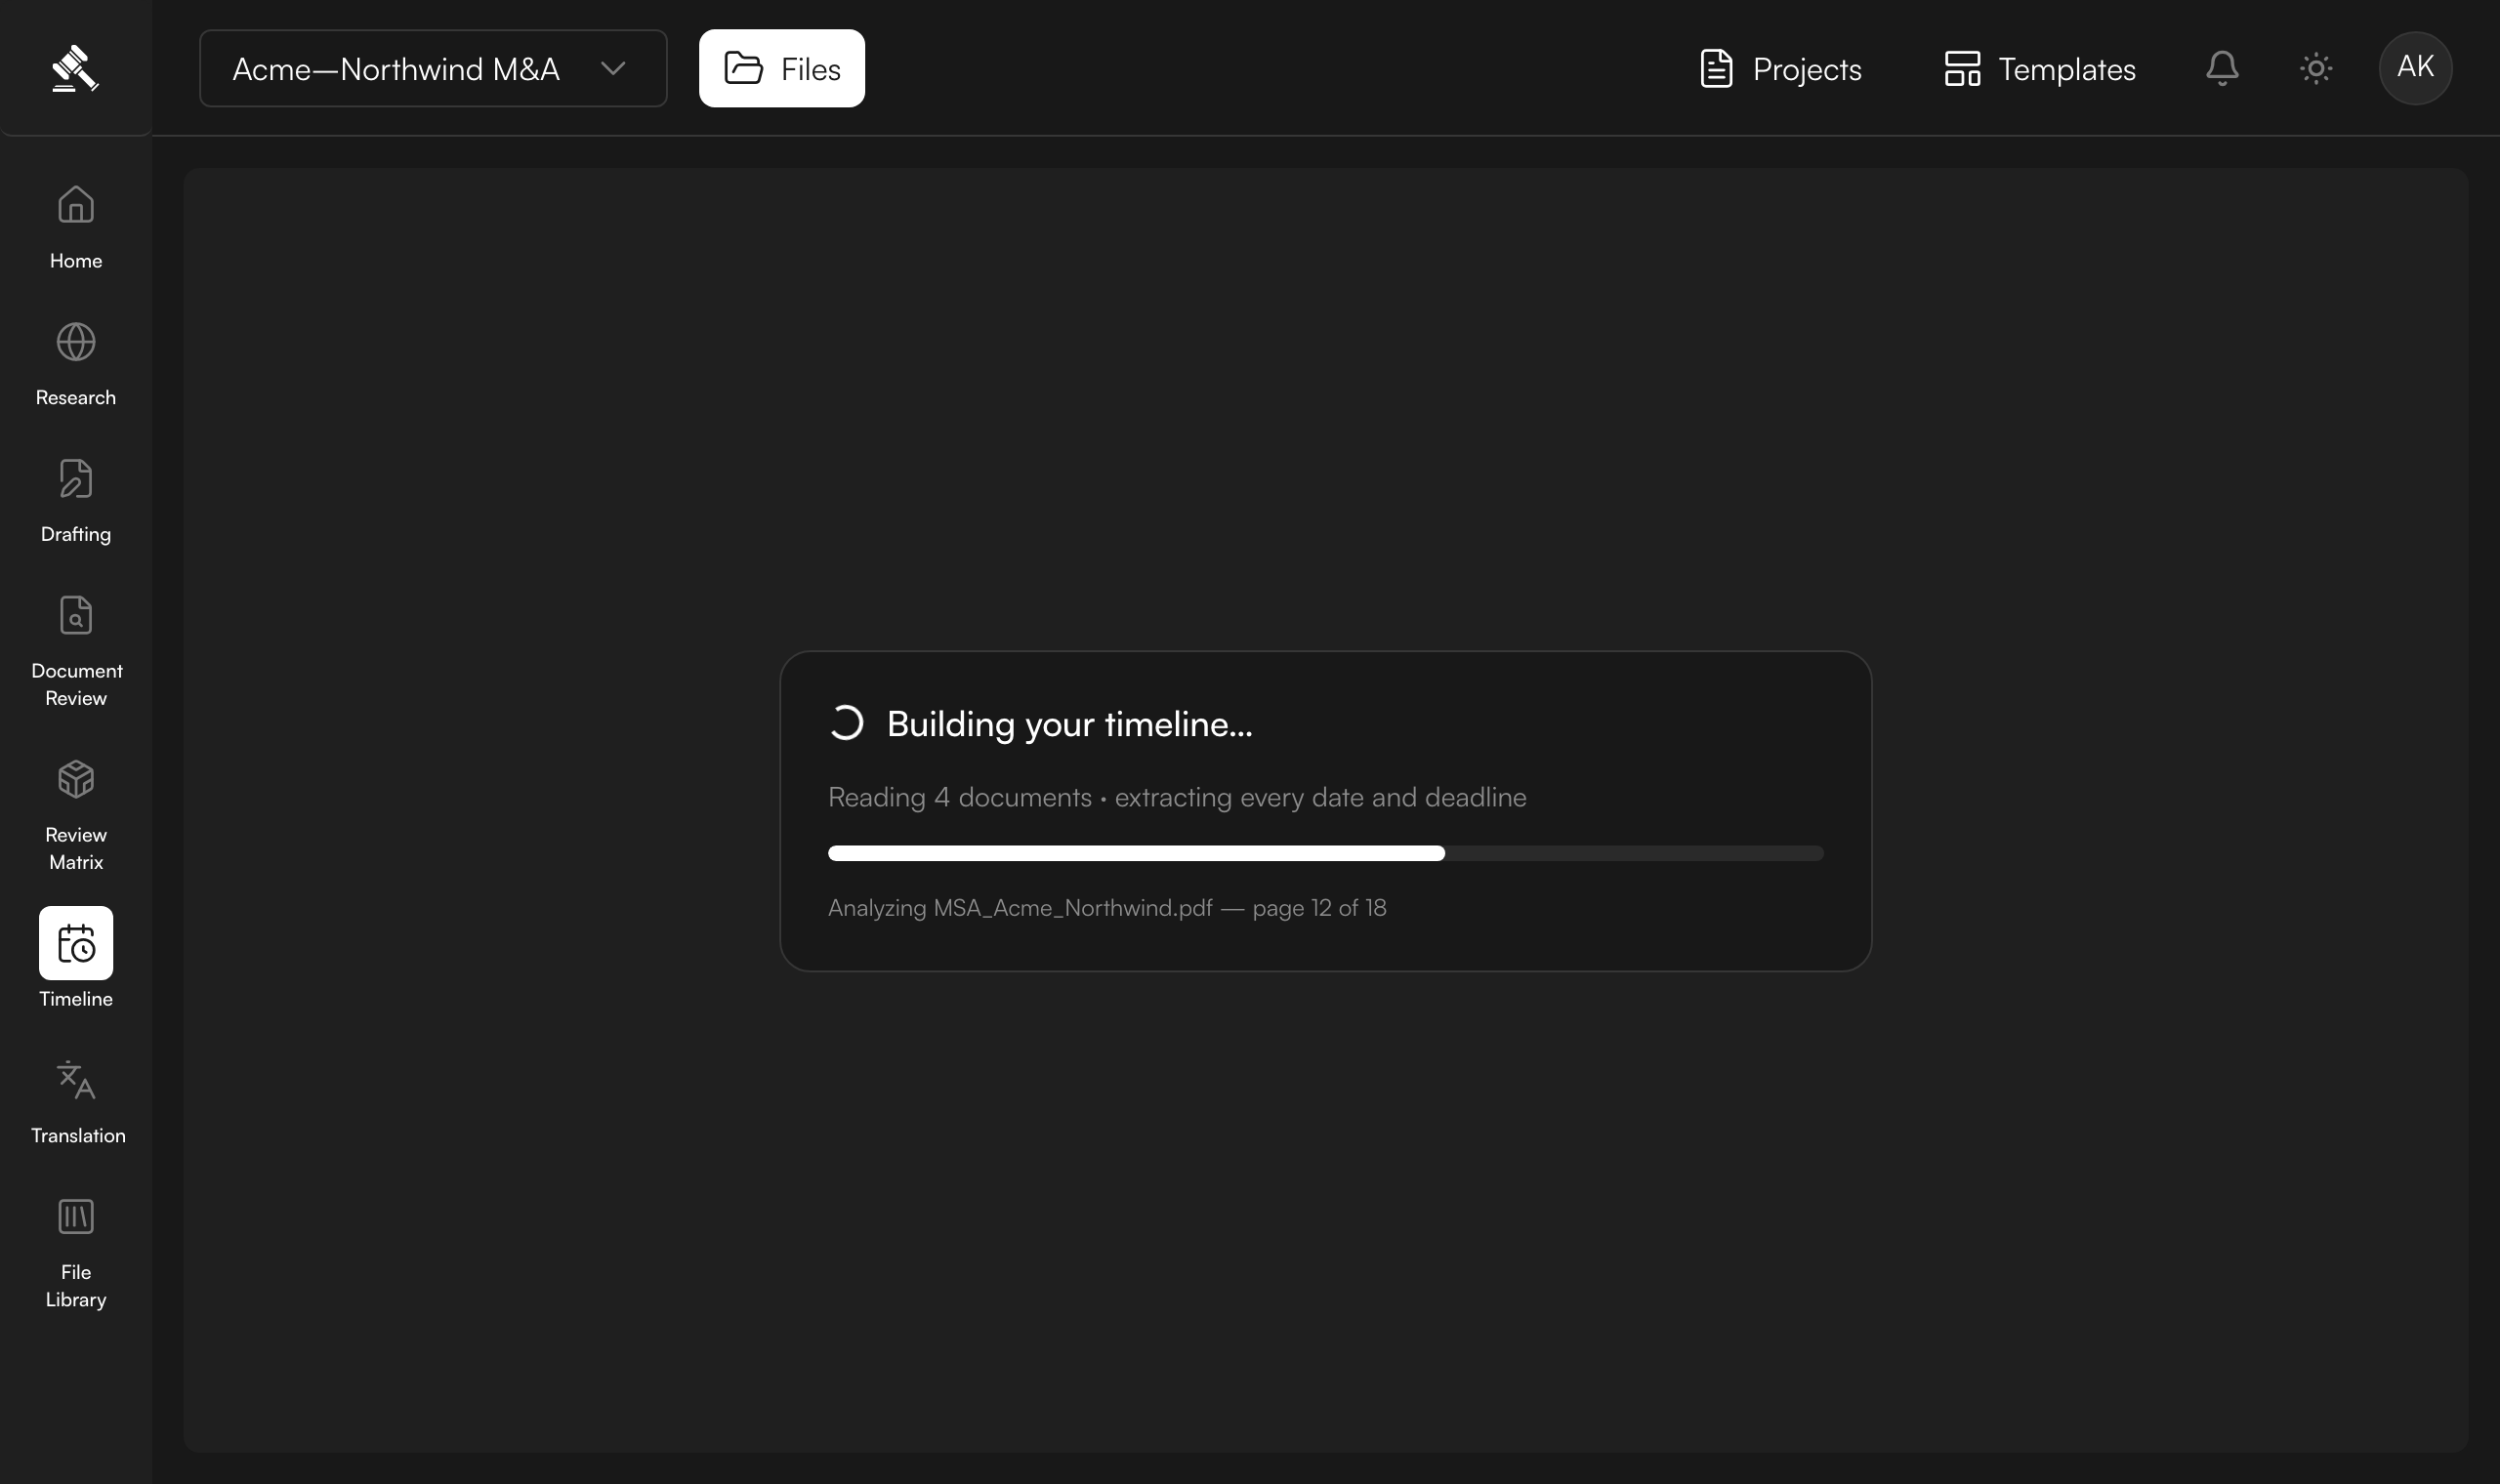
Judicio reads every page
The view switches to Jobs, where a live progress bar shows the extraction running — "Building your timeline… reading 4 documents, extracting every date and deadline."
You can navigate away while it runs; Judicio notifies you when it's done and the run keeps its place in your history.

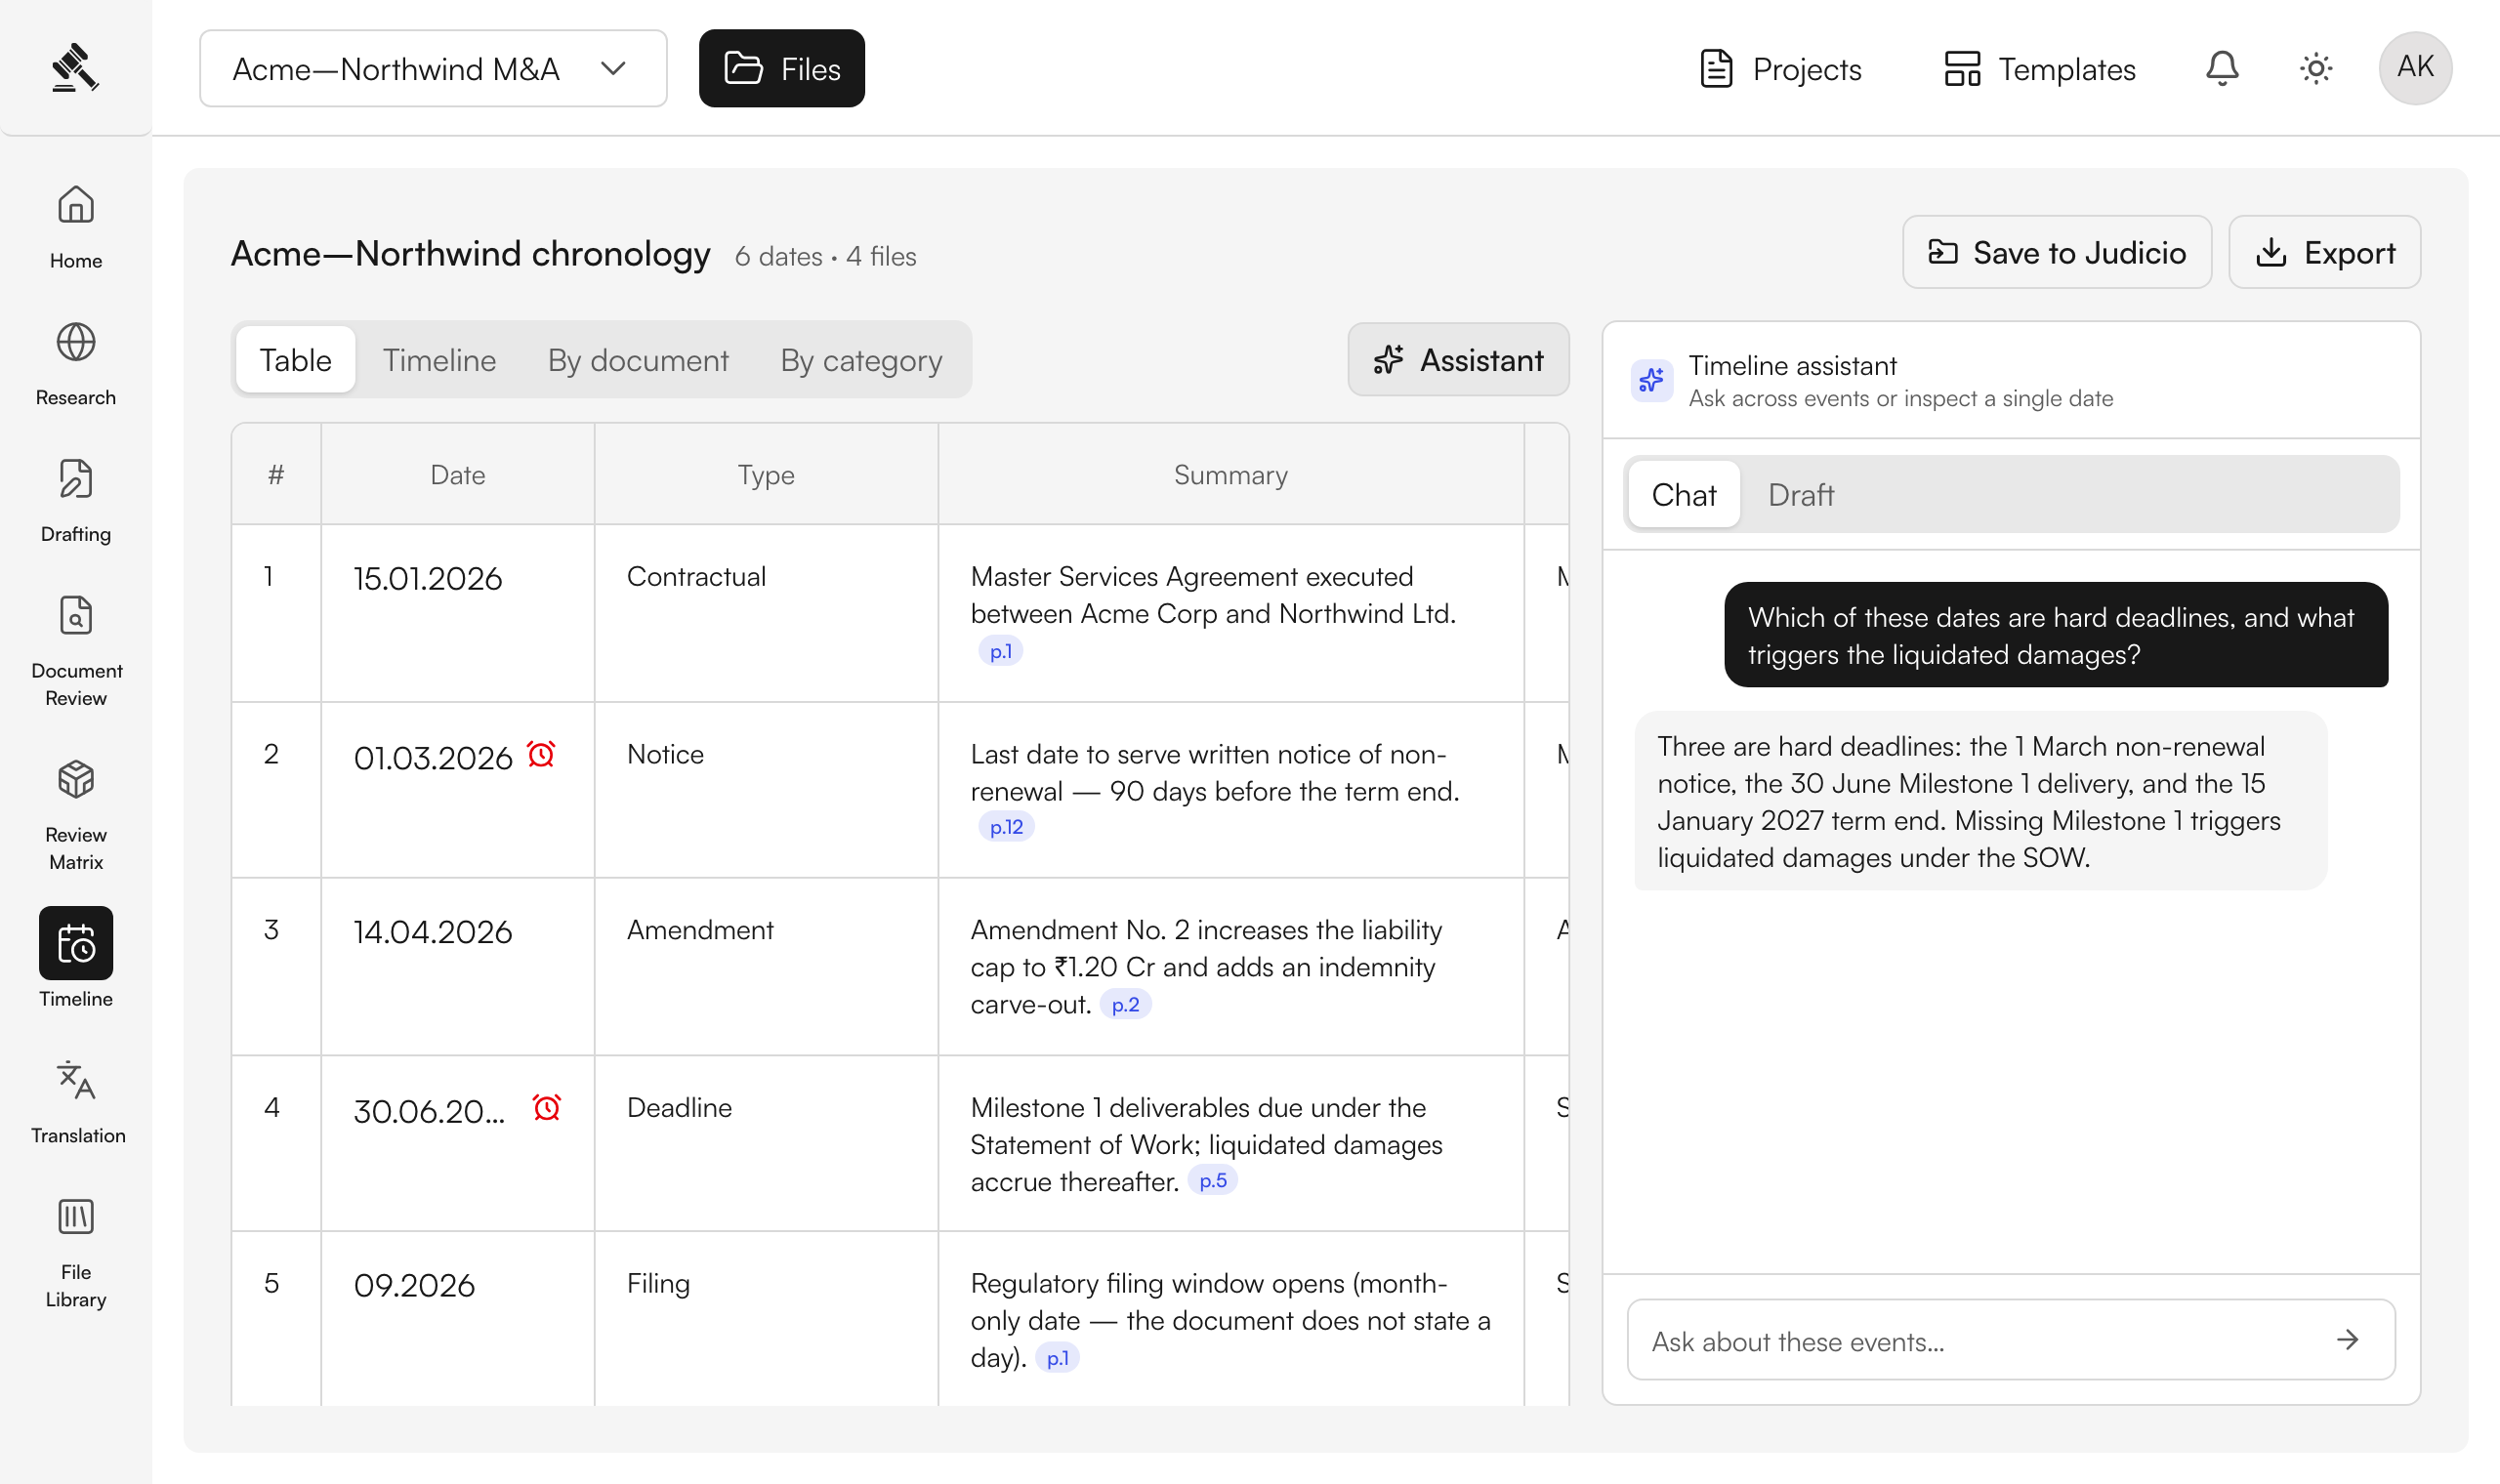
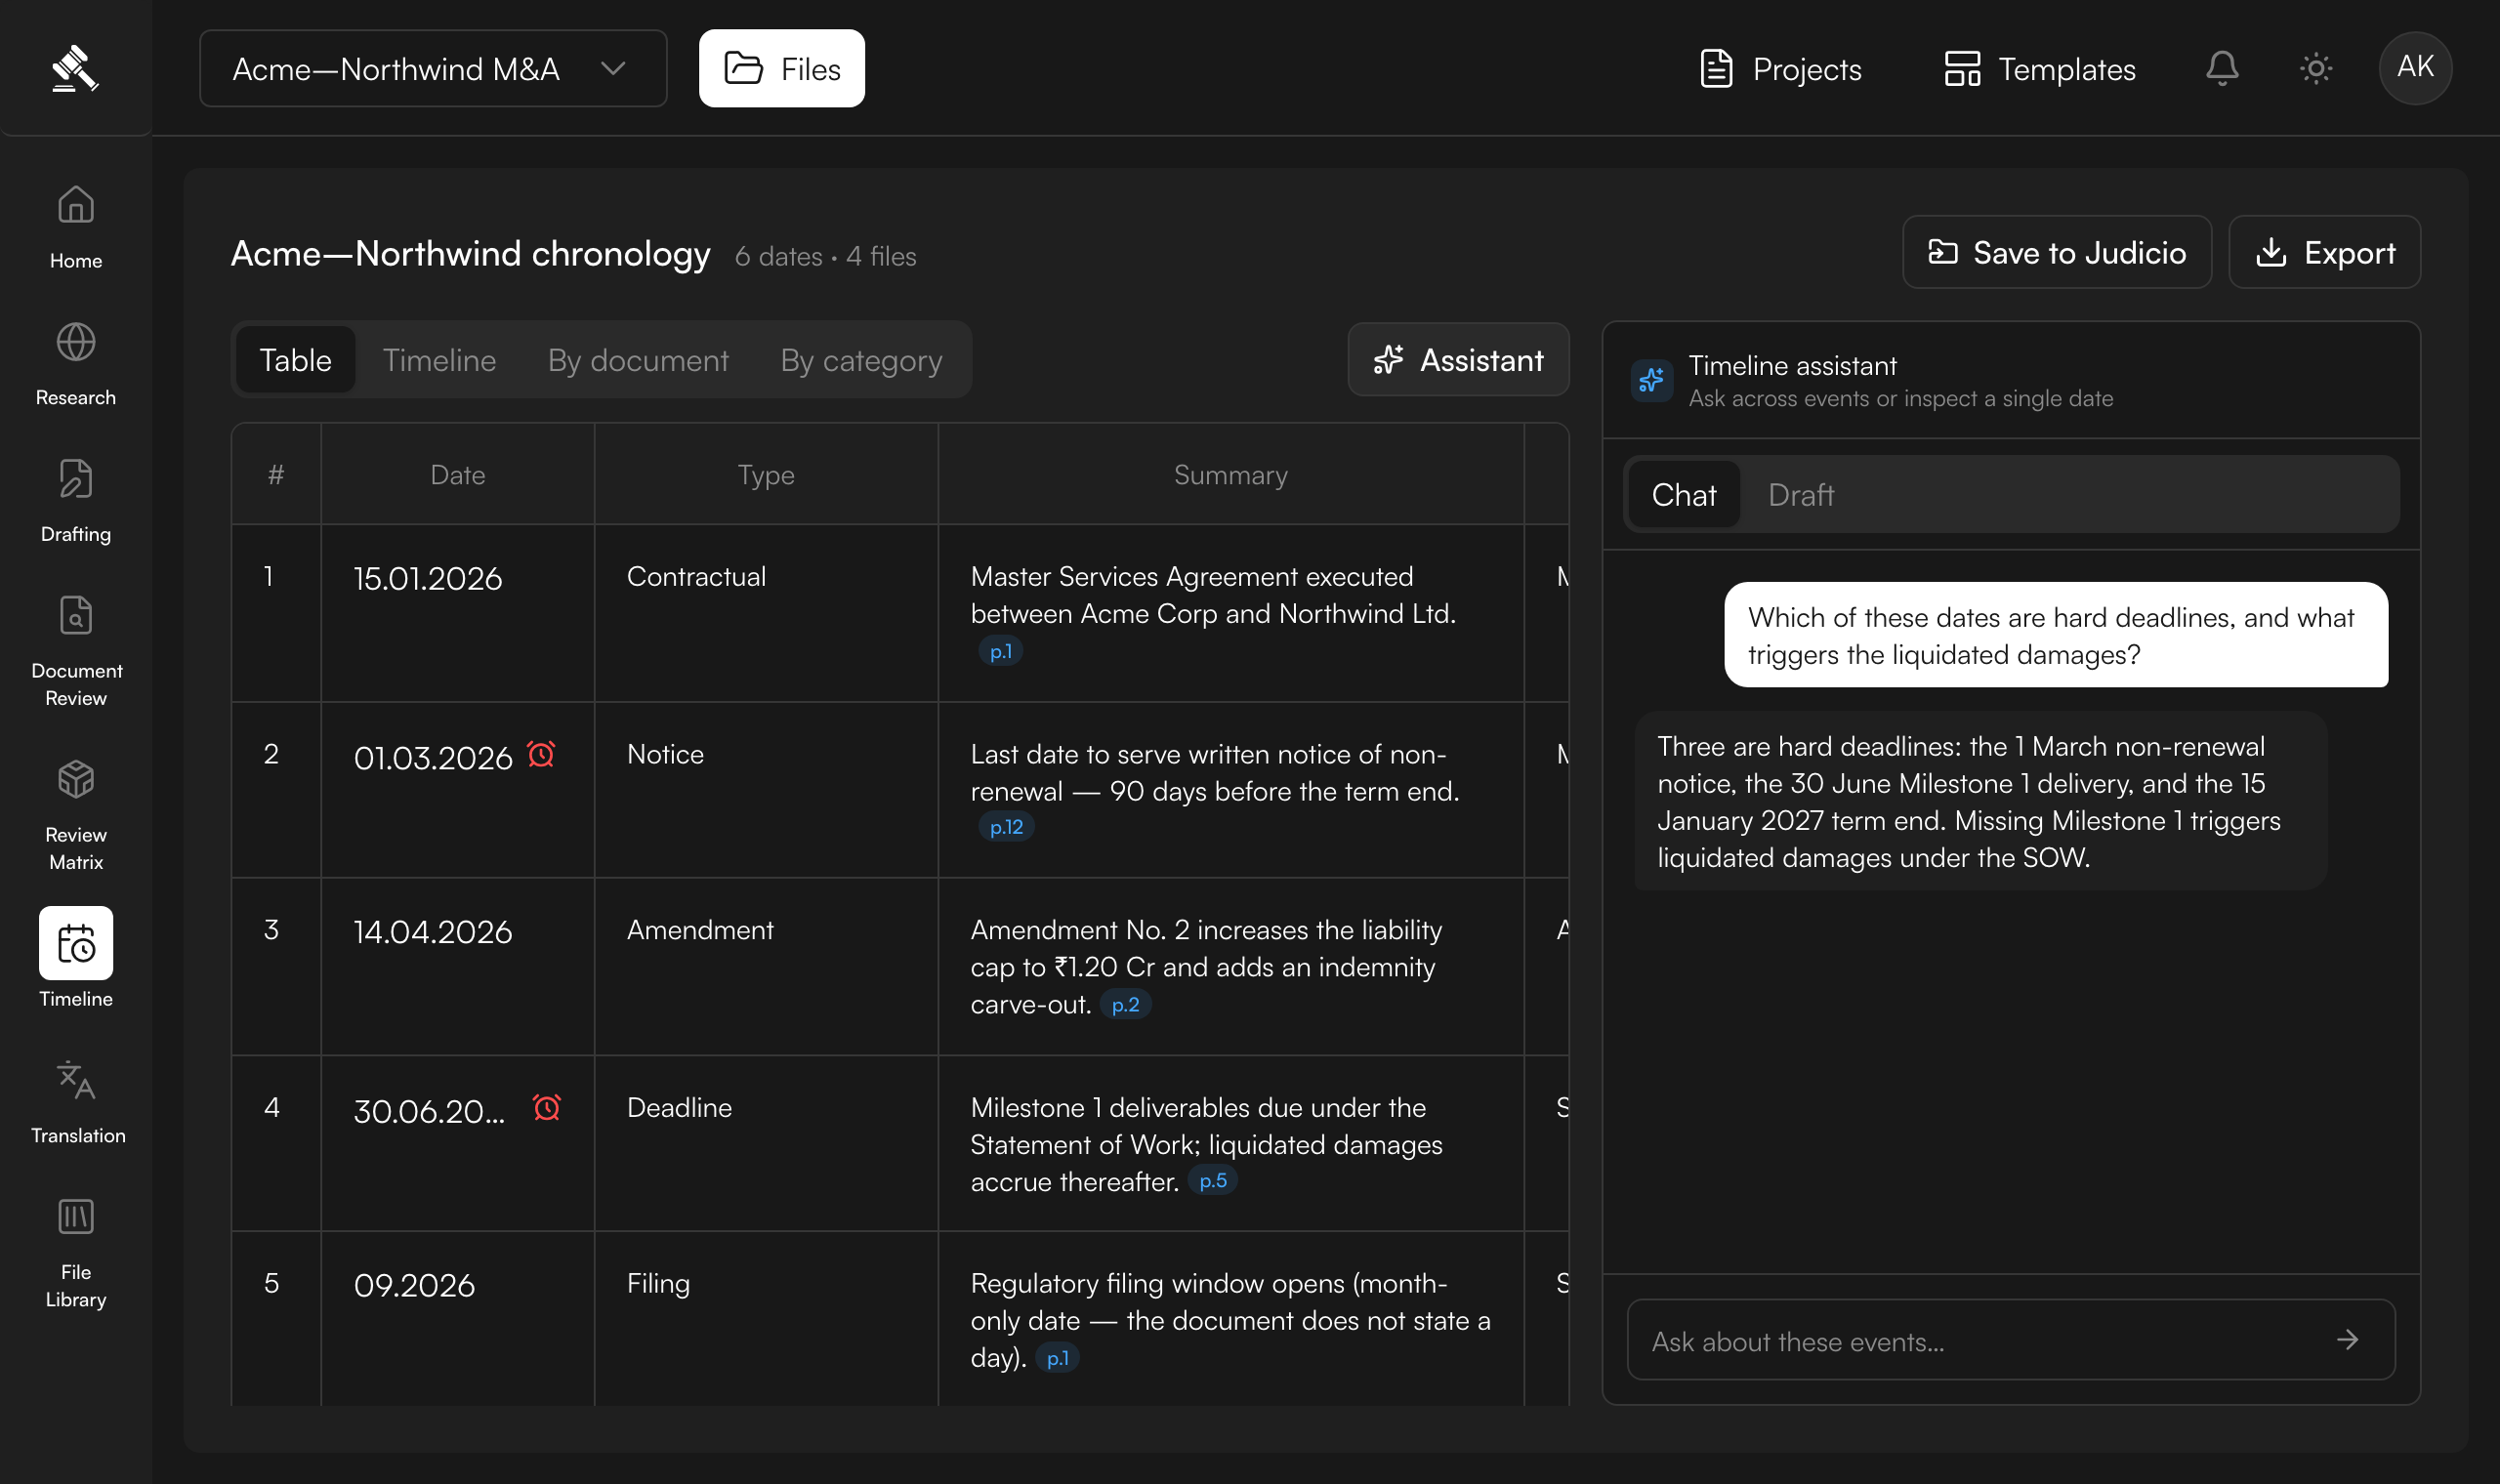
Review your cited chronology
When extraction finishes you land on the timeline. Each entry shows:
- the date (day + weekday, or "Mar 2026" for a month-only date),
- a category badge and a red 🚩 Deadline flag where the date is an actionable deadline,
- a one-line summary, and
- the source file plus a blue citation chip — click it to open the source with the exact passage highlighted.
Switch between the four views at the top — Table, Timeline, By document, By category — and filter by category, date range, or deadlines only. See Viewing Your Timeline.
Judicio's extraction is accurate, but ambiguous wording or poor scans can occasionally need a correction. Every date is cited, so a click confirms it. See Editing Dates.
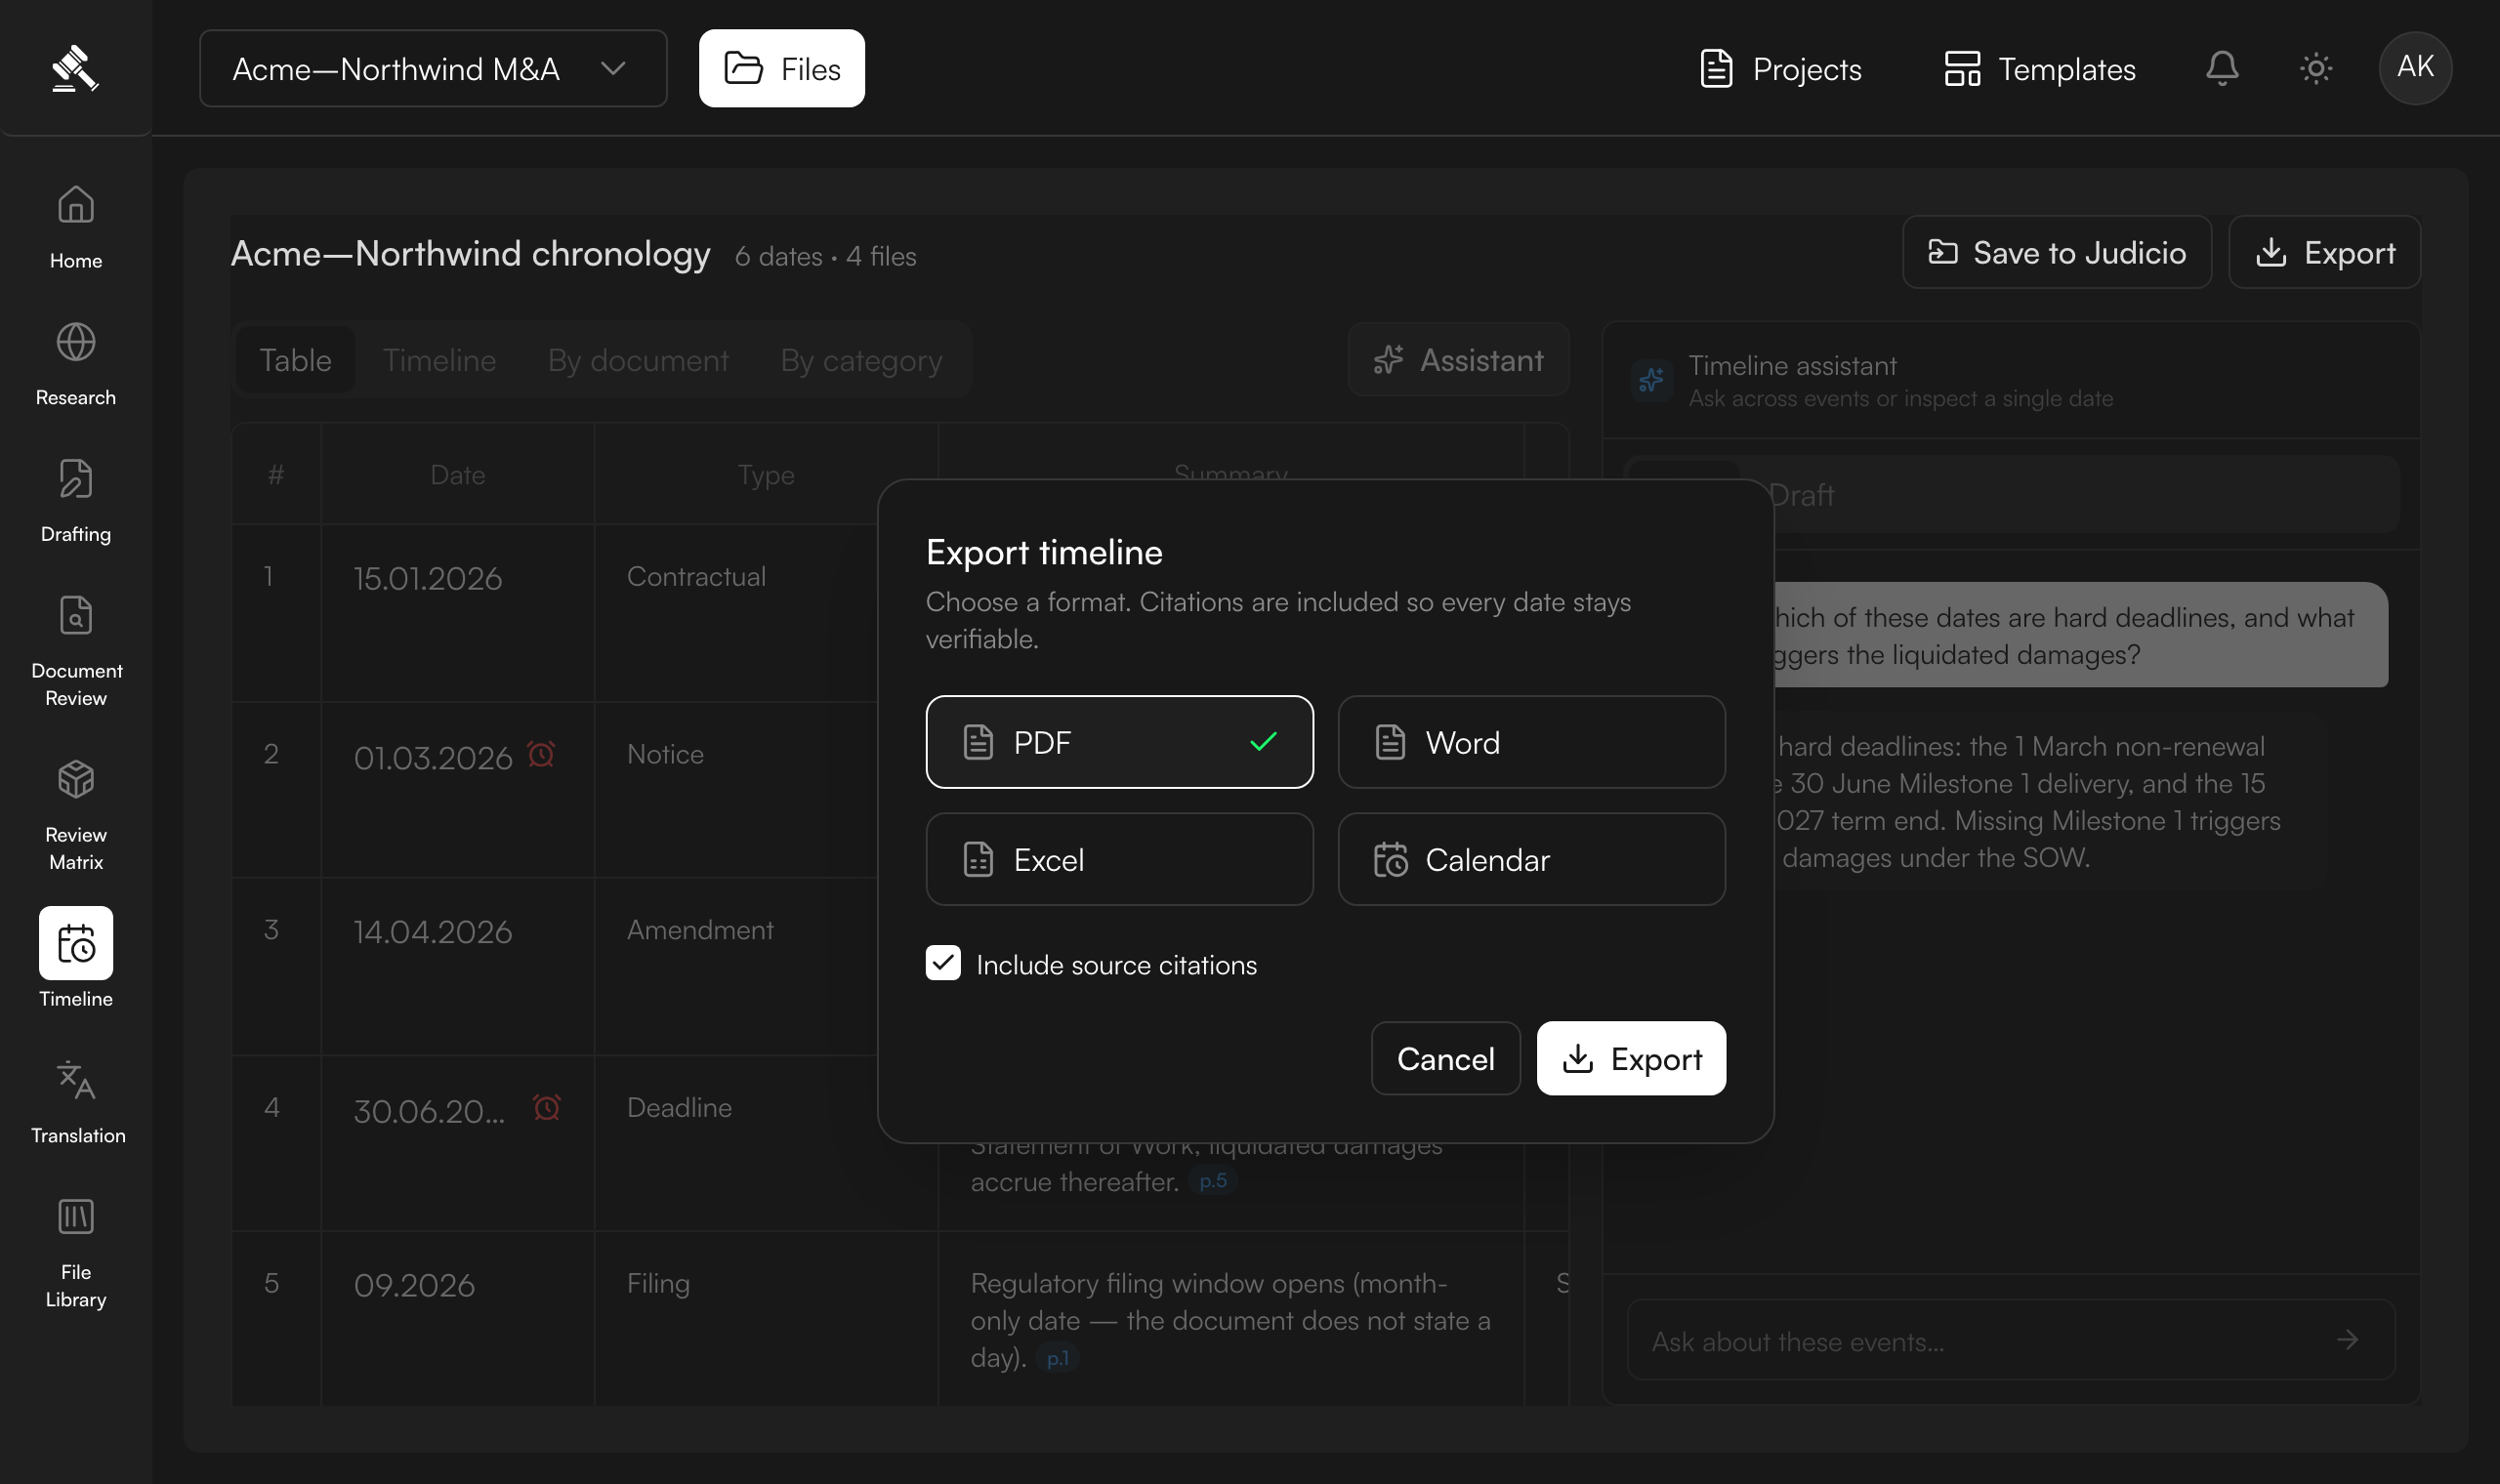
Export — or save as a template
Click Export and pick a format — PDF, Word, Excel, or Calendar (.ics) — with the Include source citations toggle on so every date stays verifiable. (Choosing Calendar also lets you export deadlines only.) See Exporting Timelines.
Happy with the date types you built? Save as a template so your next timeline reuses them in one click.

Next steps
- Date Types and Templates — learn the categories and how templates work.
- Viewing Your Timeline — explore the four views in detail.
- Editing Dates — correct, annotate, or add dates manually.