Creating Projects
This guide walks you through a shared project from start to finish — exactly what to click to open a matter, see the work attached to it, invite a colleague with the right role, read the activity trail, and check usage analytics. The whole flow is shown in the looping demo below; the steps beneath it break it down.
- A Judicio account with an active subscription or free trial
- For shared projects and roles: an organisation (so you have colleagues to invite). Solo accounts can still create projects.
- At least one document in your File Library to attach to the matter
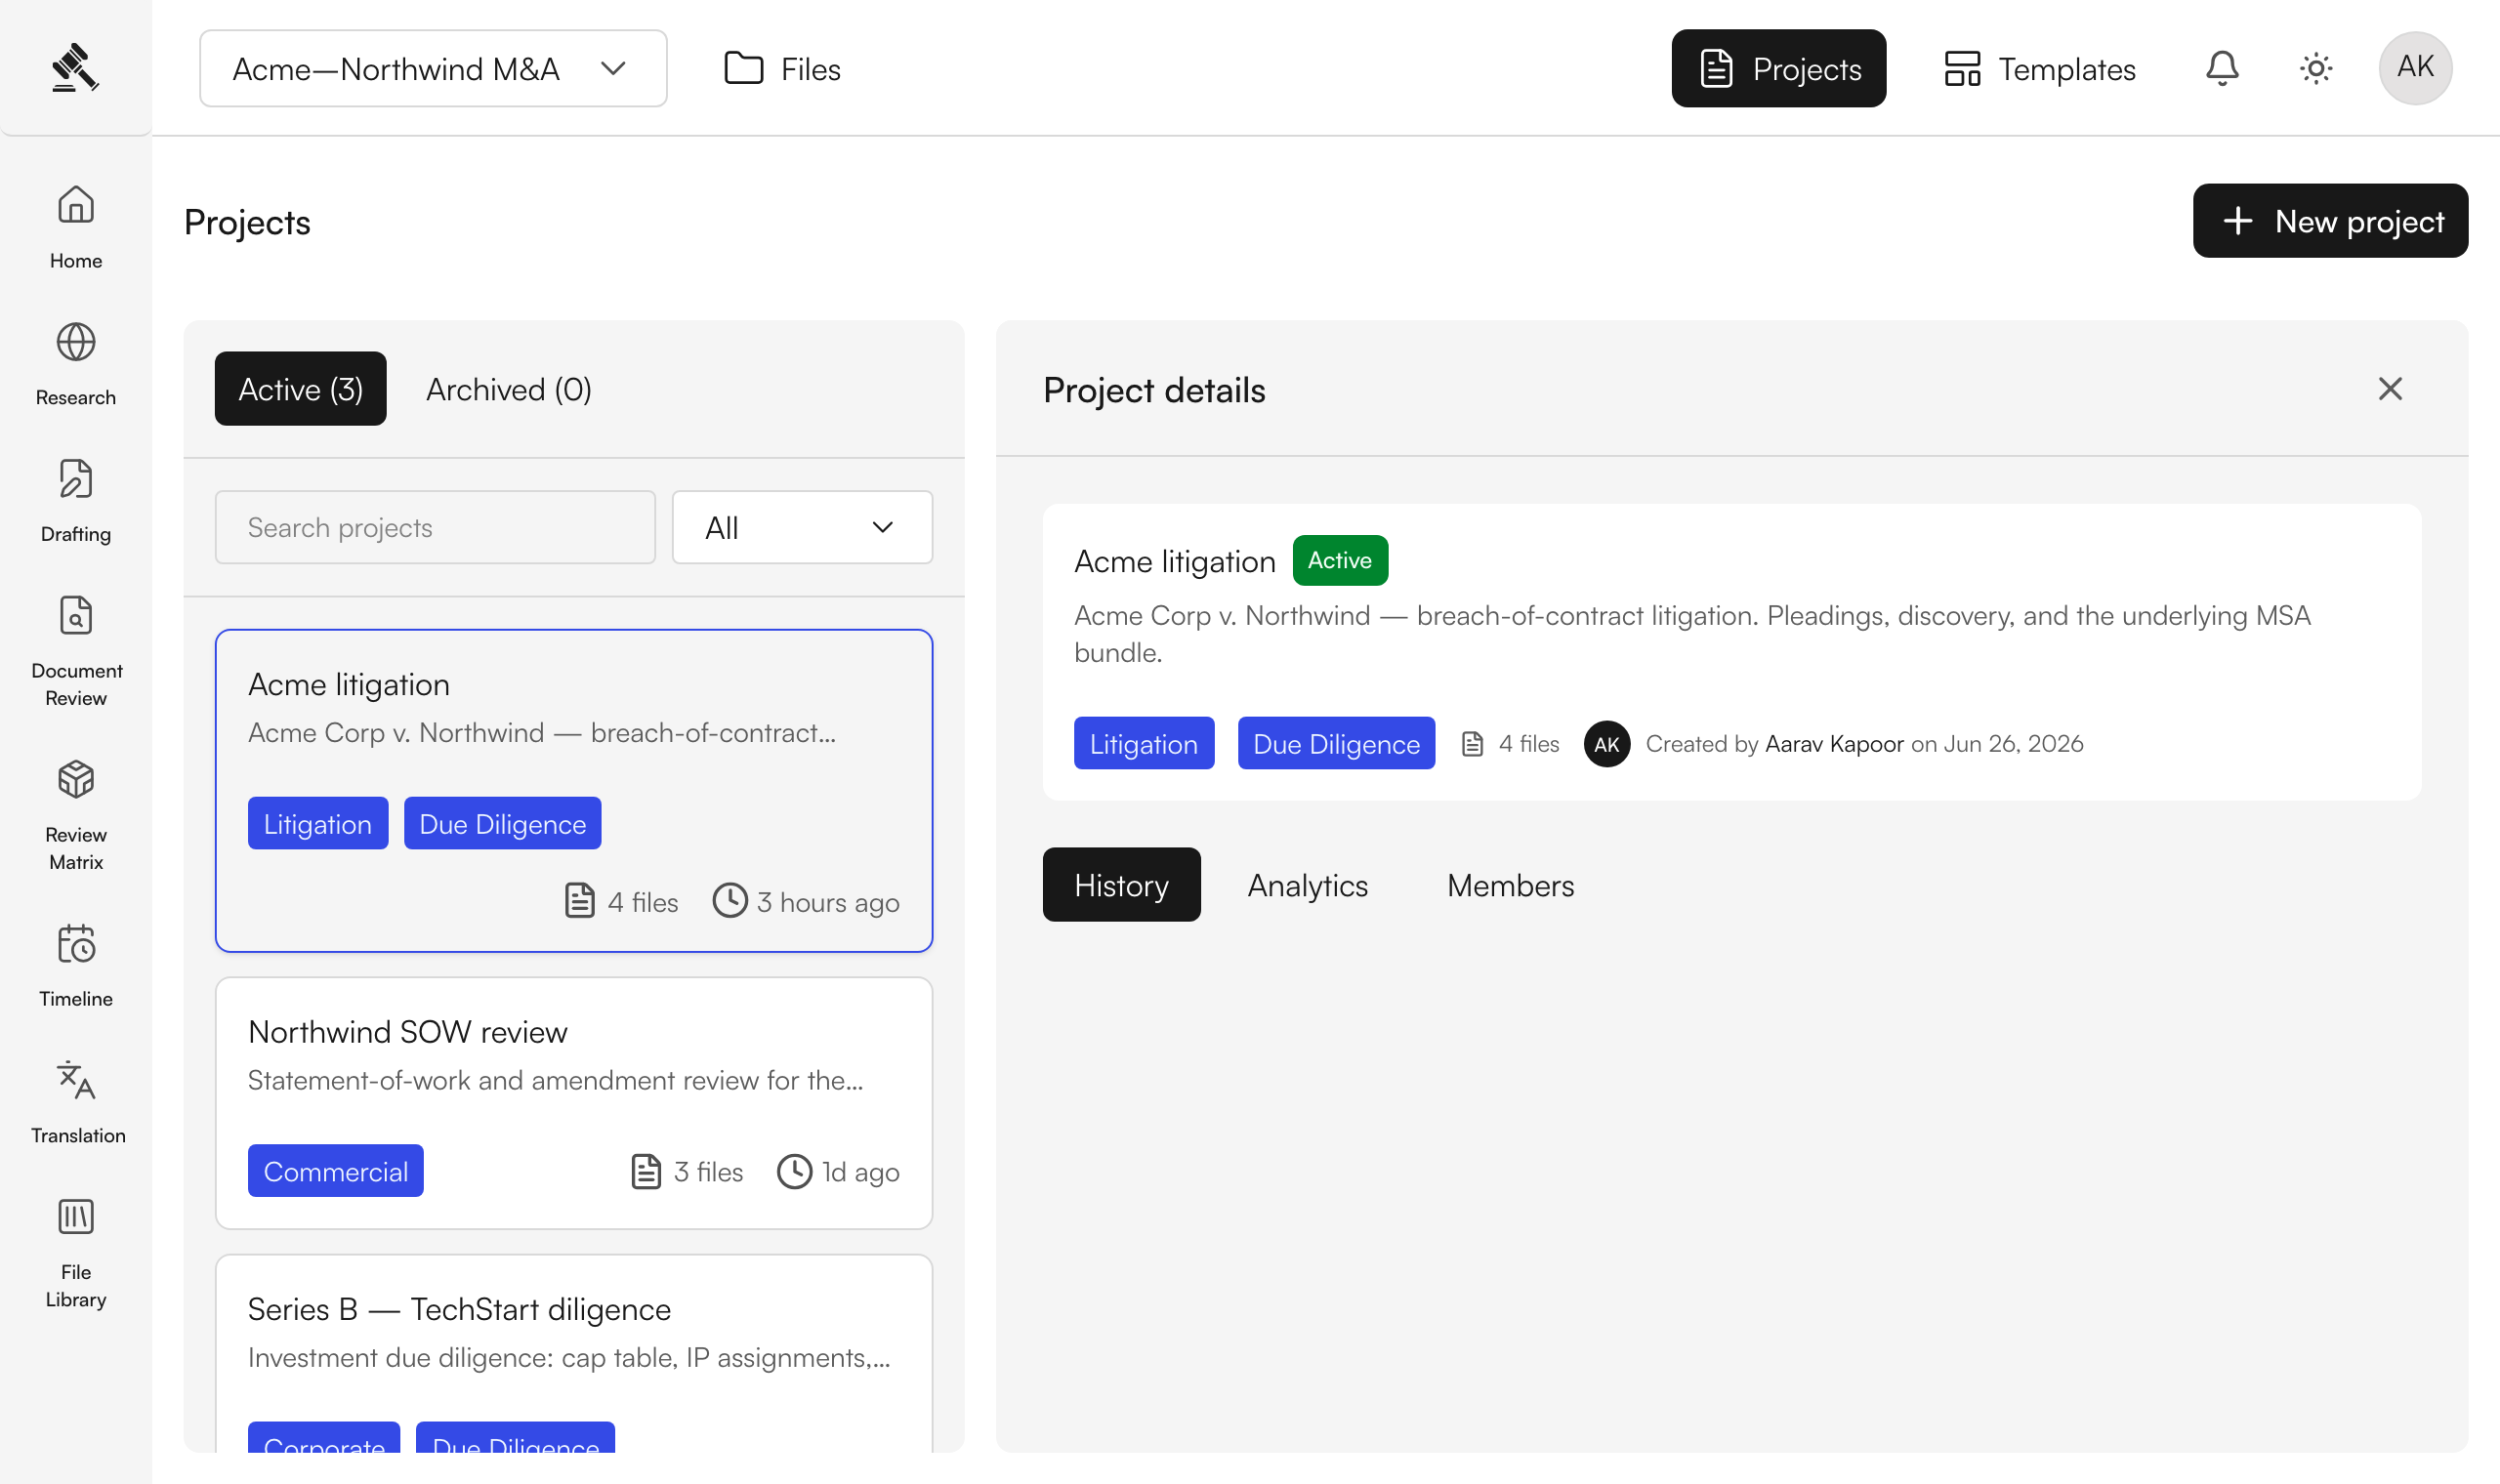
Open Projects
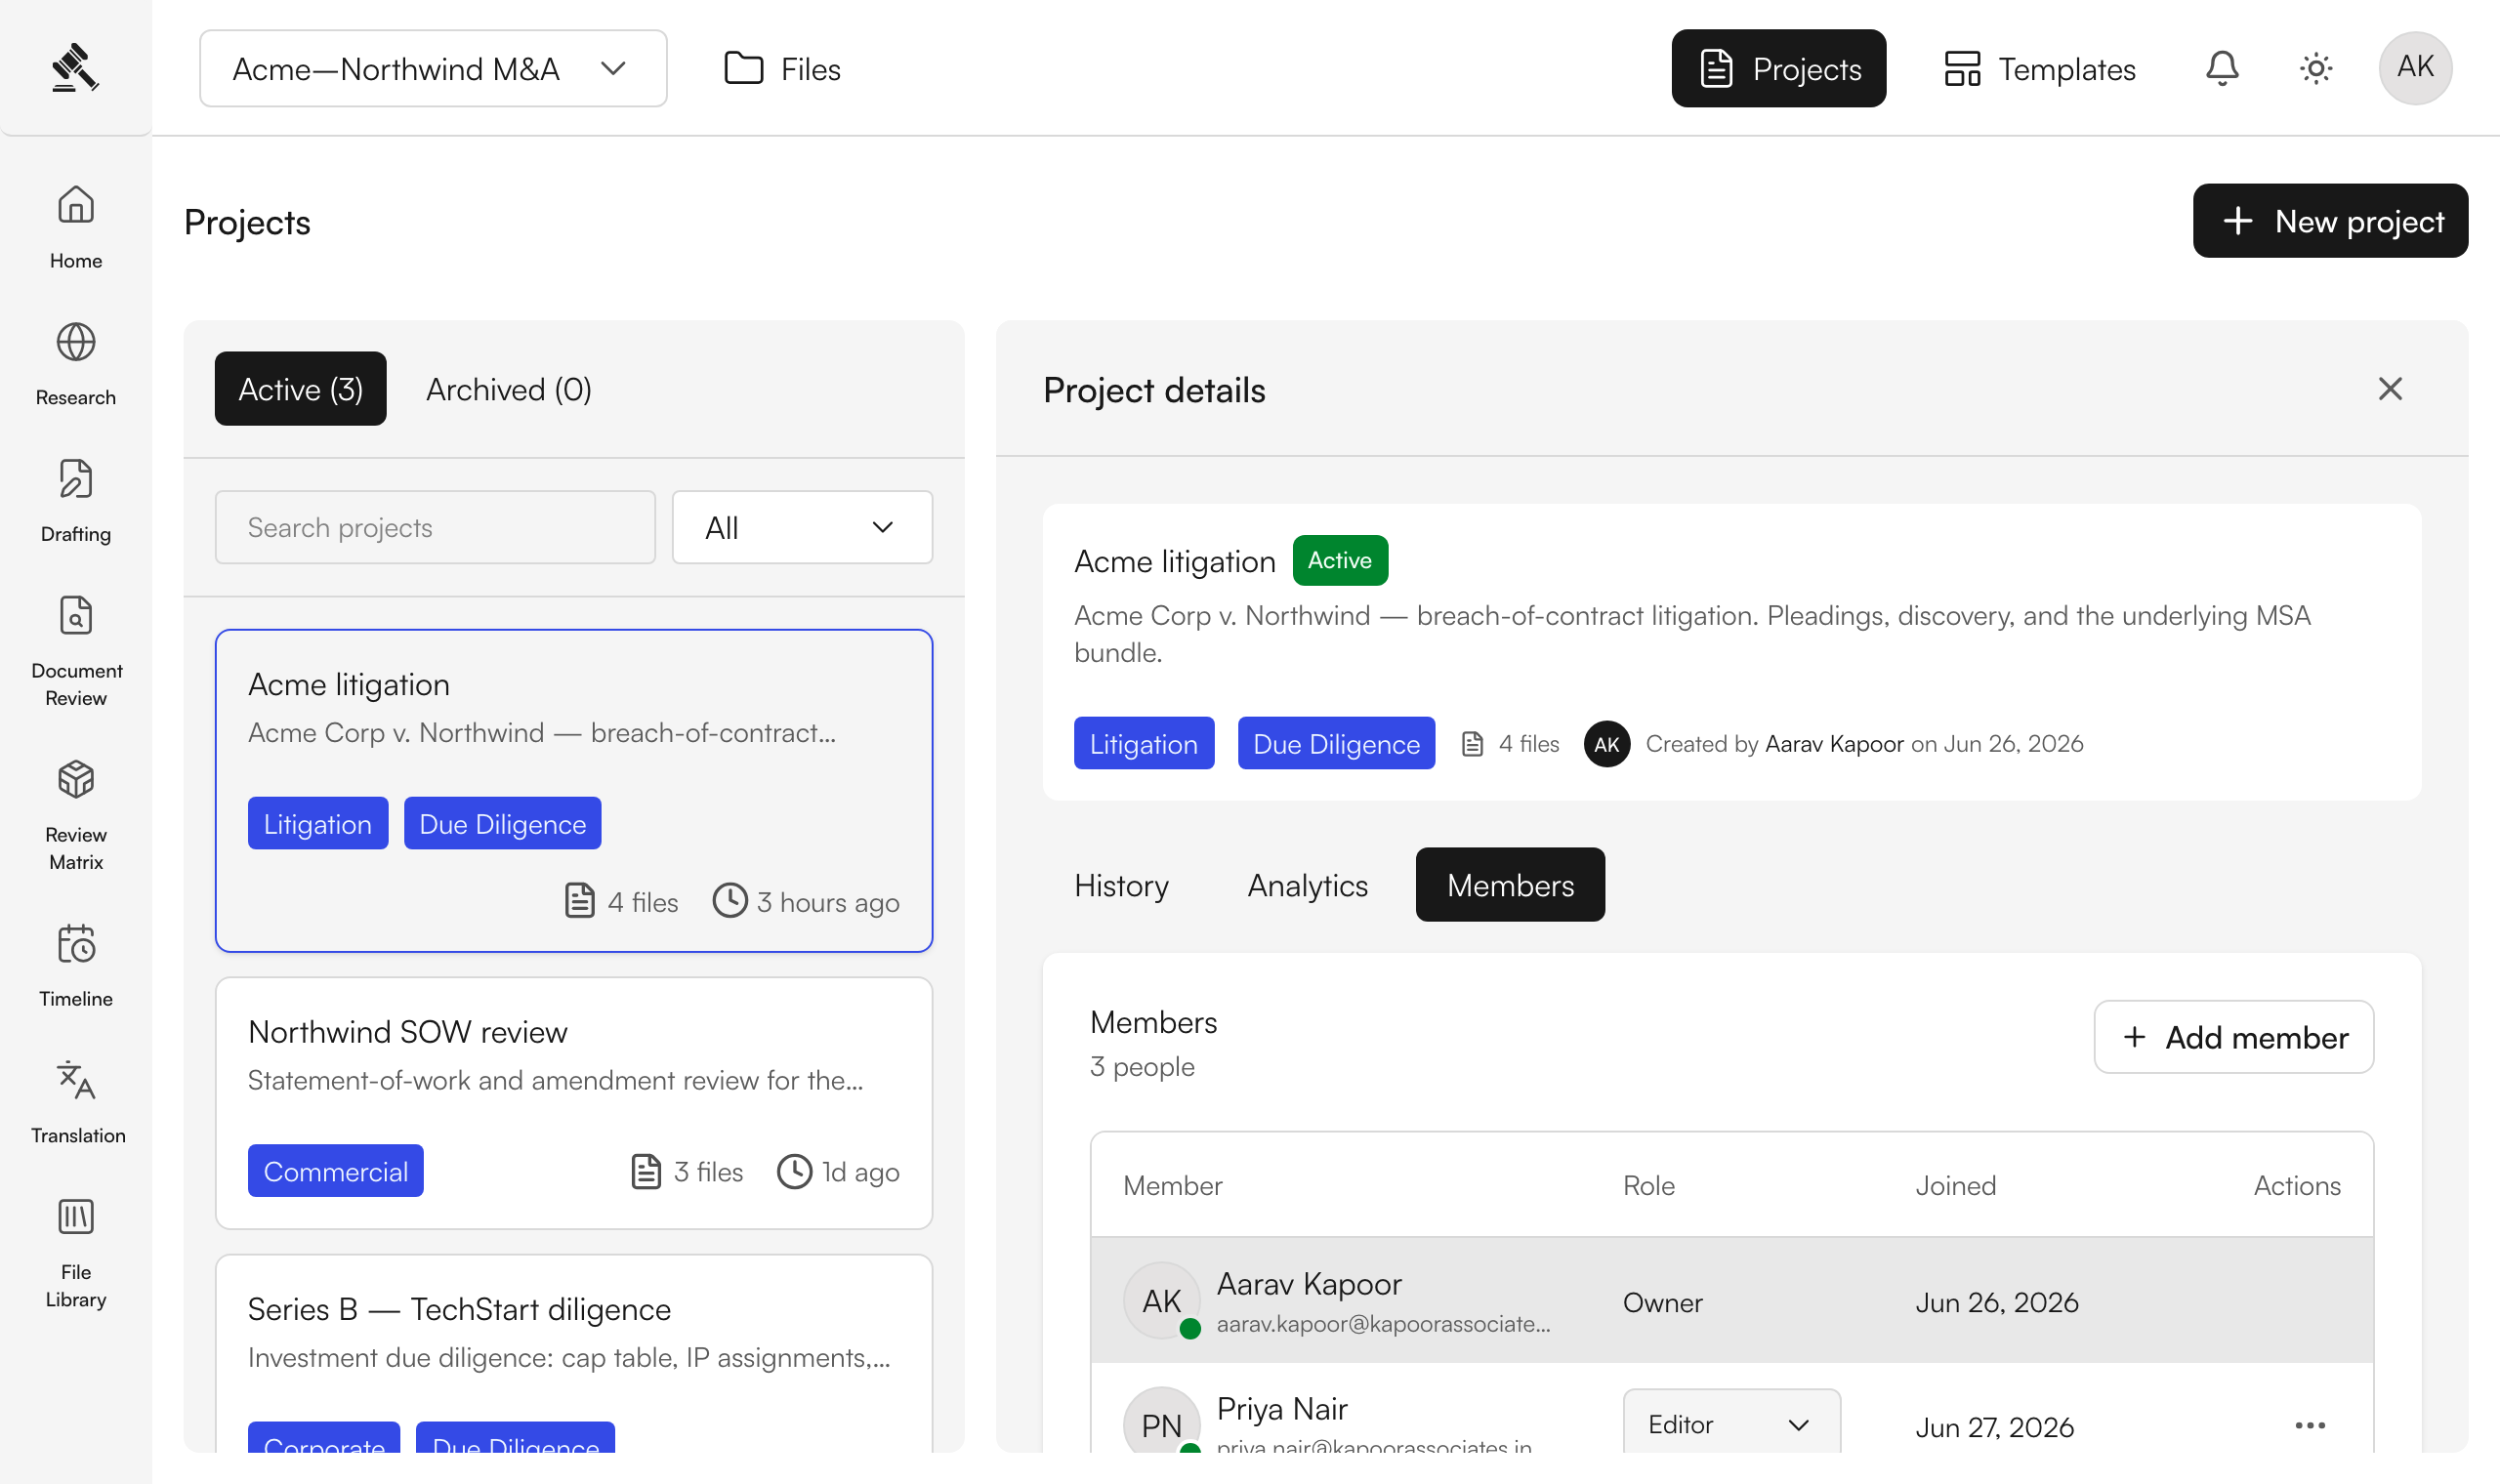
Click Projects in the top bar. You land on the Projects workspace: a list of every matter on the left (with Active and Archived tabs, a search box, and a tags filter), and the selected project's details on the right.
To start a new one, click New project, give it a clear name (e.g. "Acme litigation") and an optional description, tag it by practice area, and choose who to share it with.
Include the client or matter name and the type of work — for example "Smith v. Jones — Discovery" or "Series B — TechStart diligence" — so your team recognises it at a glance.
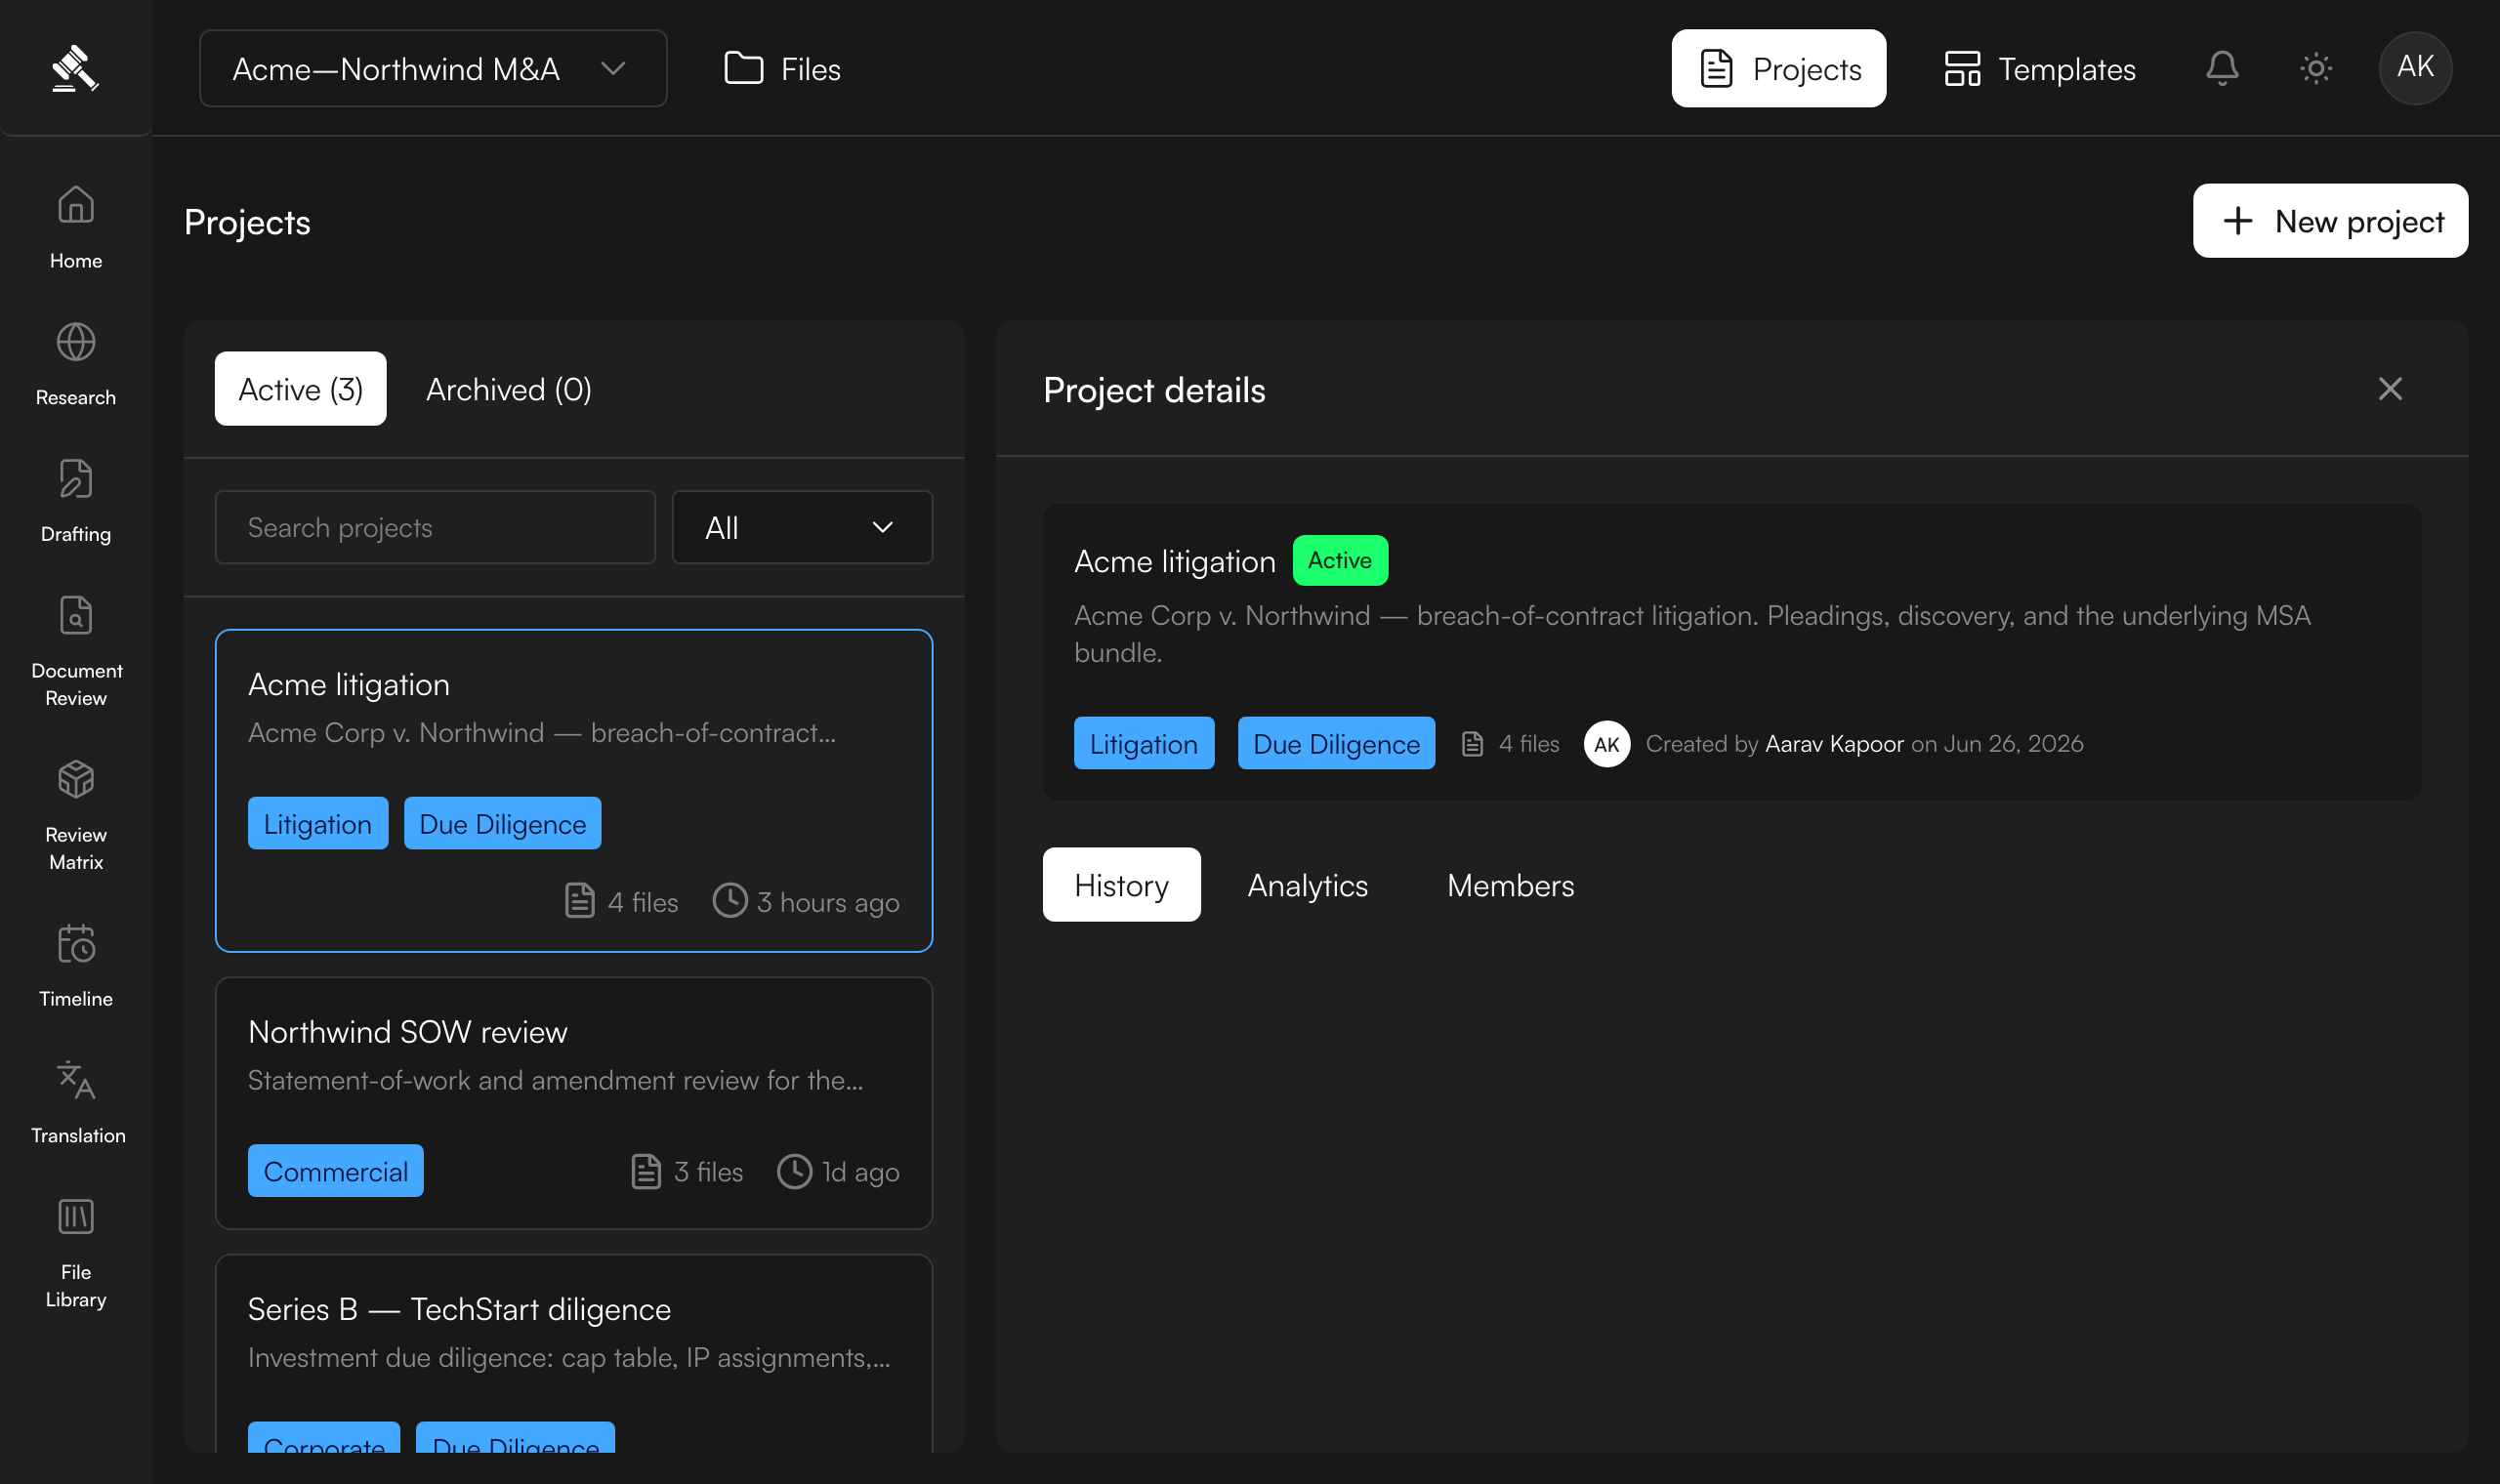
Open a shared project
Click a project in the list to open it. The details pane shows the overview card — the project name and status, its description, the practice-area tags, the file count, and who created it and when — with the History, Analytics, and Members tabs beneath.
This is the matter's home: everyone you've shared it with sees the same workspace.
See the work attached to the matter
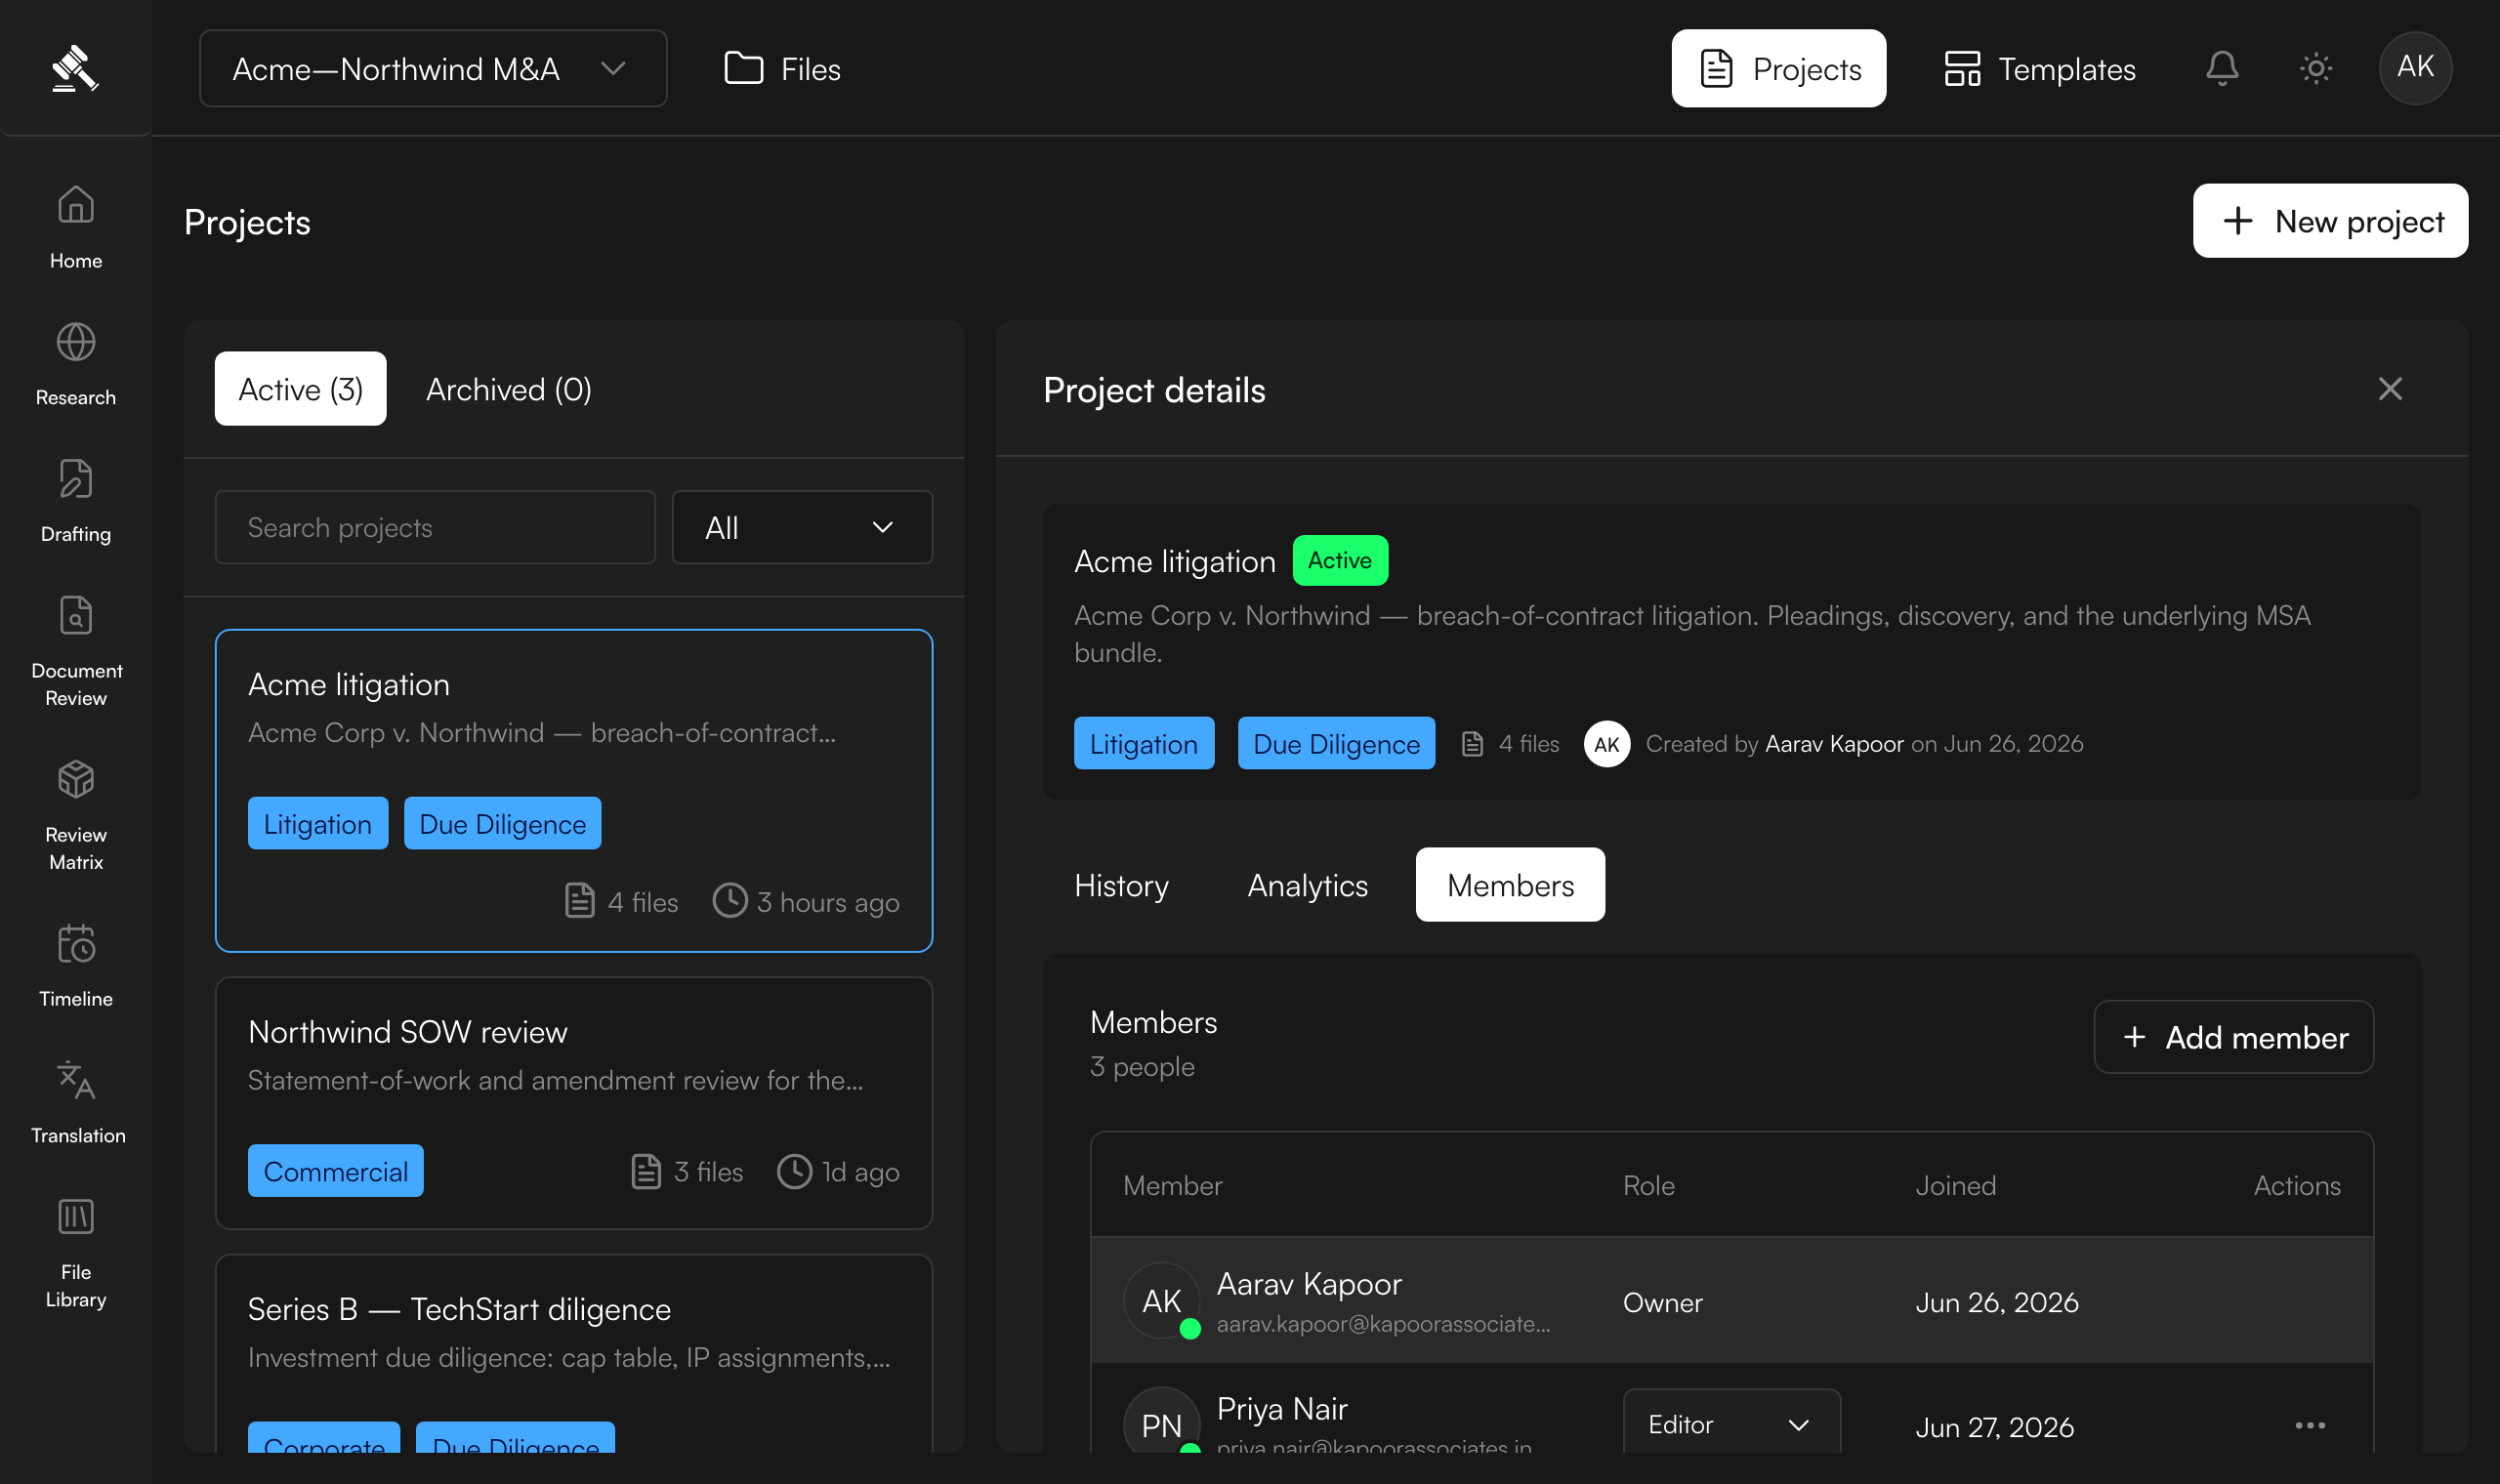
A project pulls together everything for the matter — the documents from your File Library, plus every review, research run, timeline, and translation done within it. The Members tab shows the people on the project and their roles, so you always know who has access to that work.
Open the Members tab to see the team. The owner is listed first; editors and viewers follow, each with the date they joined.
Invite a colleague with a role
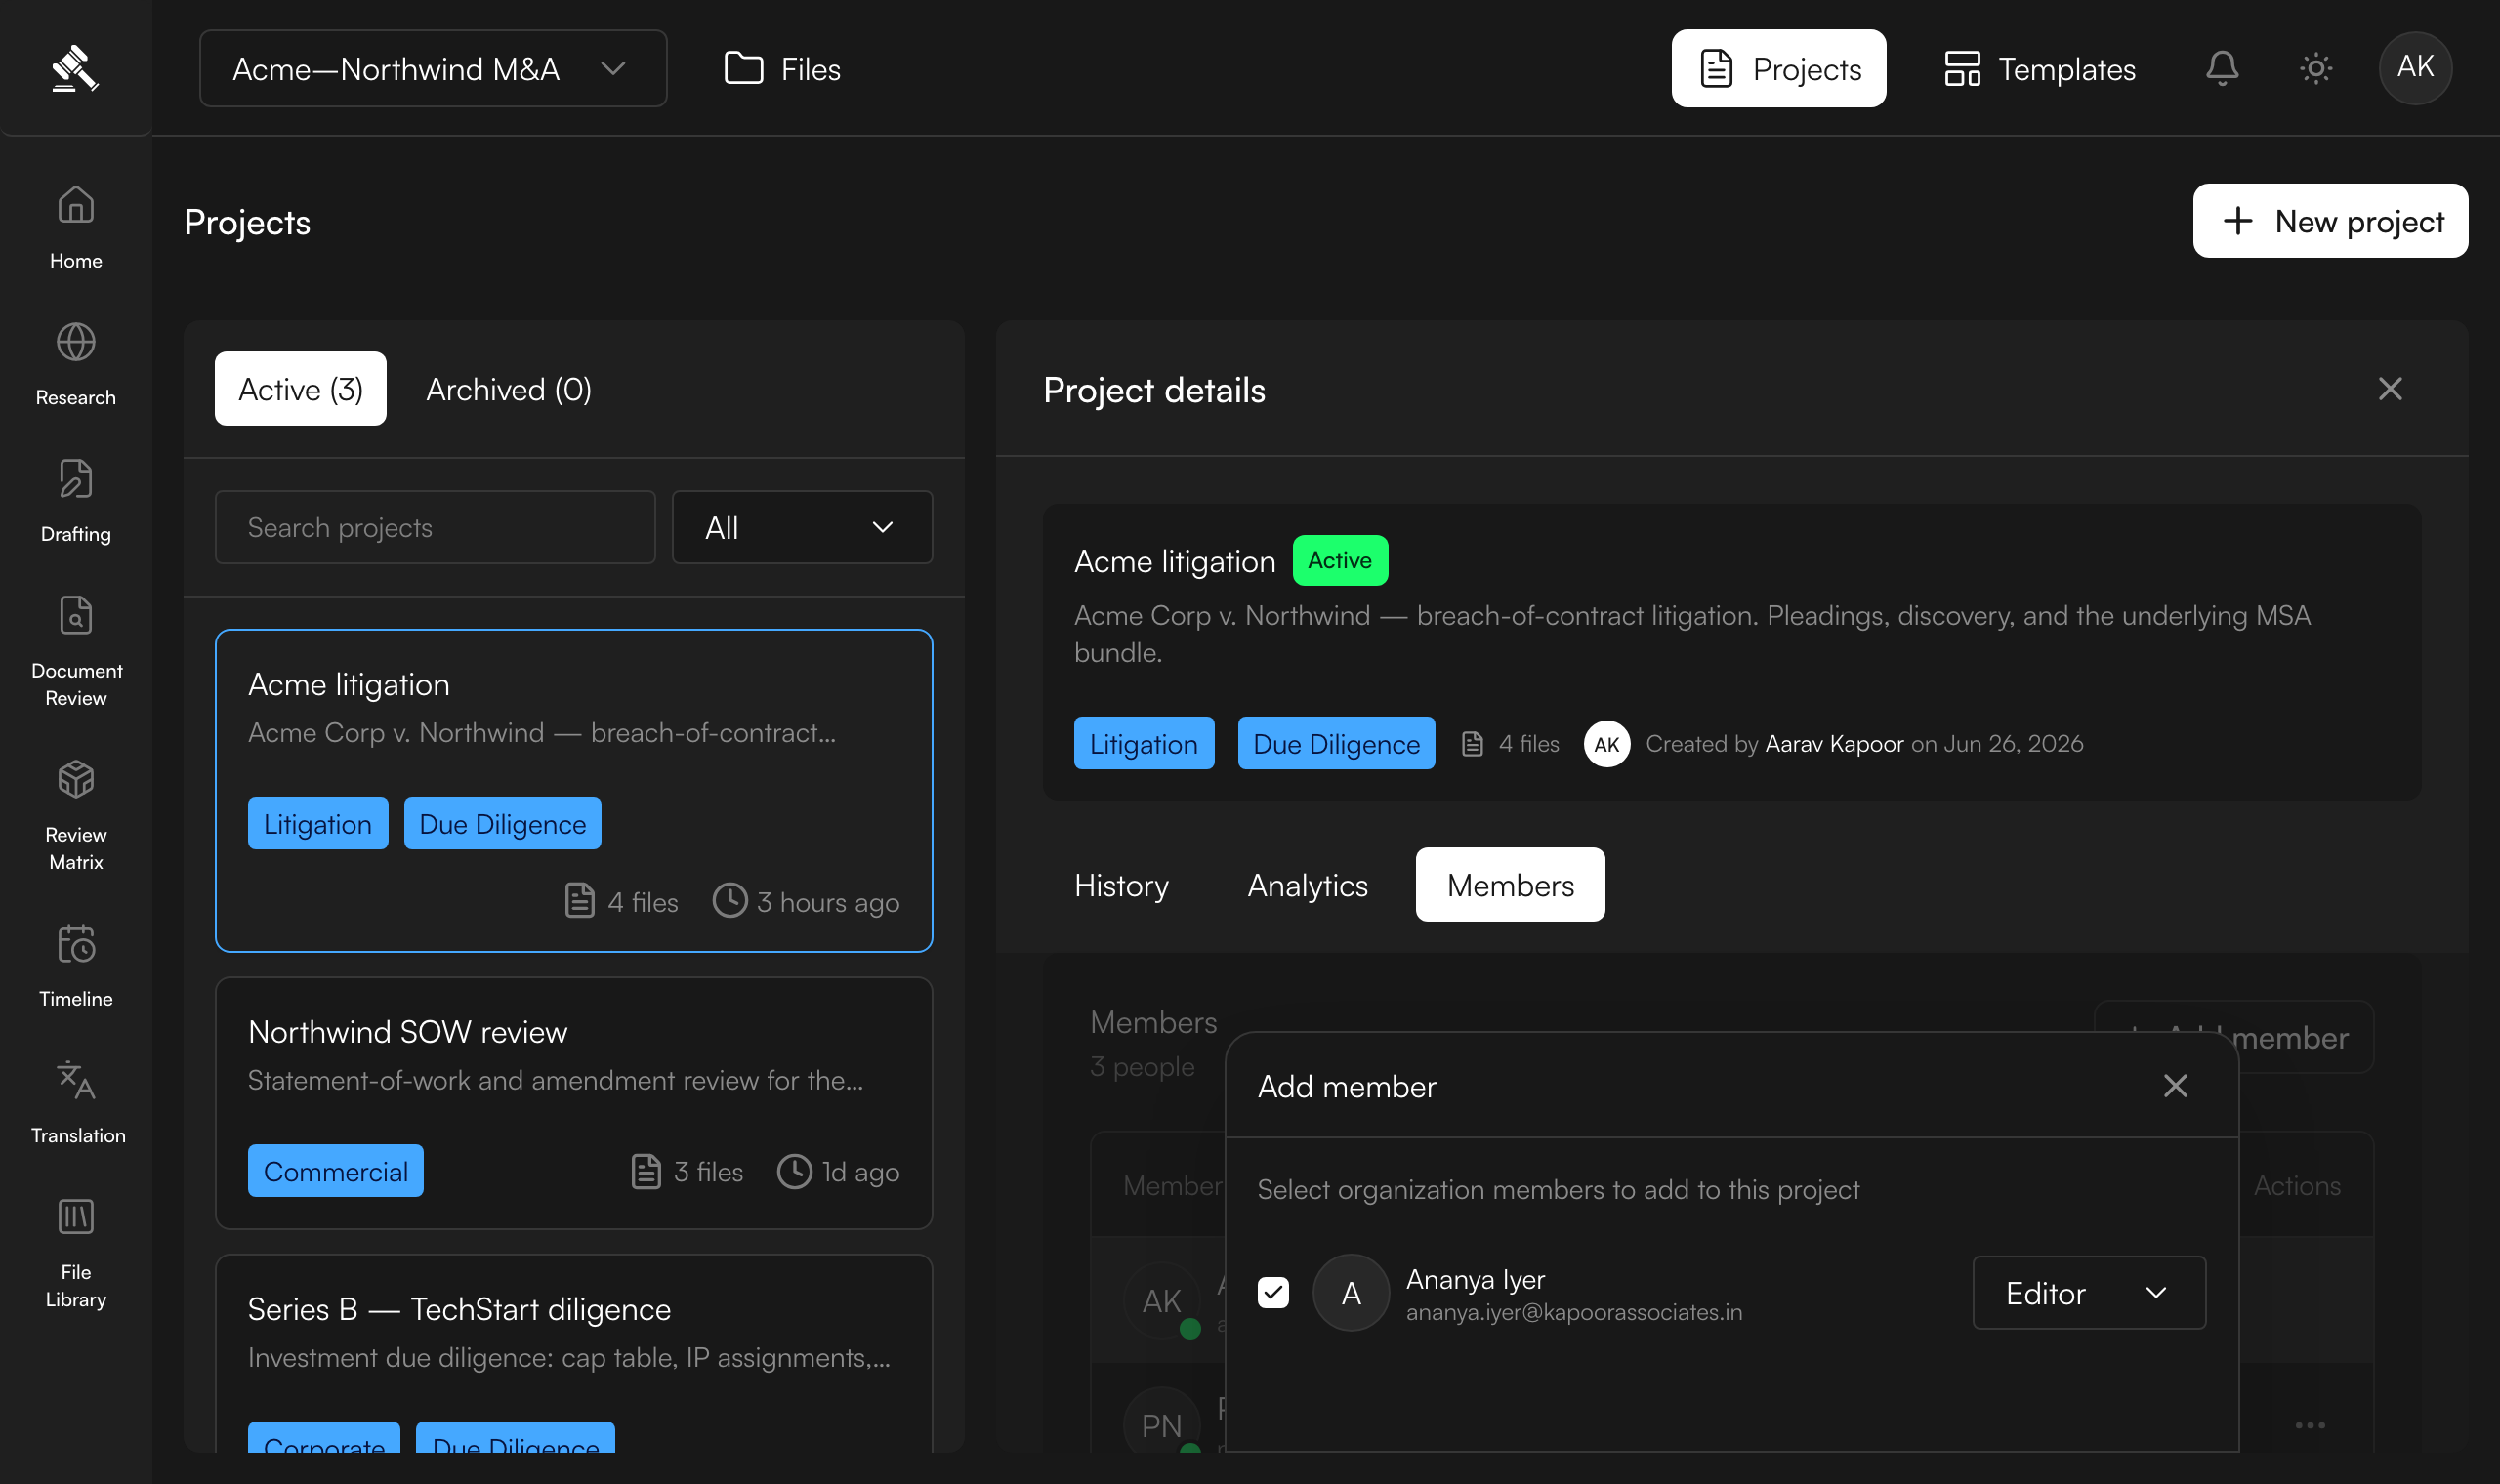
On the Members tab, click Add member. Pick the colleagues to bring in, then choose a role for each from the dropdown:
- Editor — run analyses, upload and manage documents, view everything.
- Viewer — read-only access to documents, analyses, and history.
Click Add to send the invite. The project owner keeps full control — managing members, settings, and the project itself. See Managing Members for the full permissions breakdown.

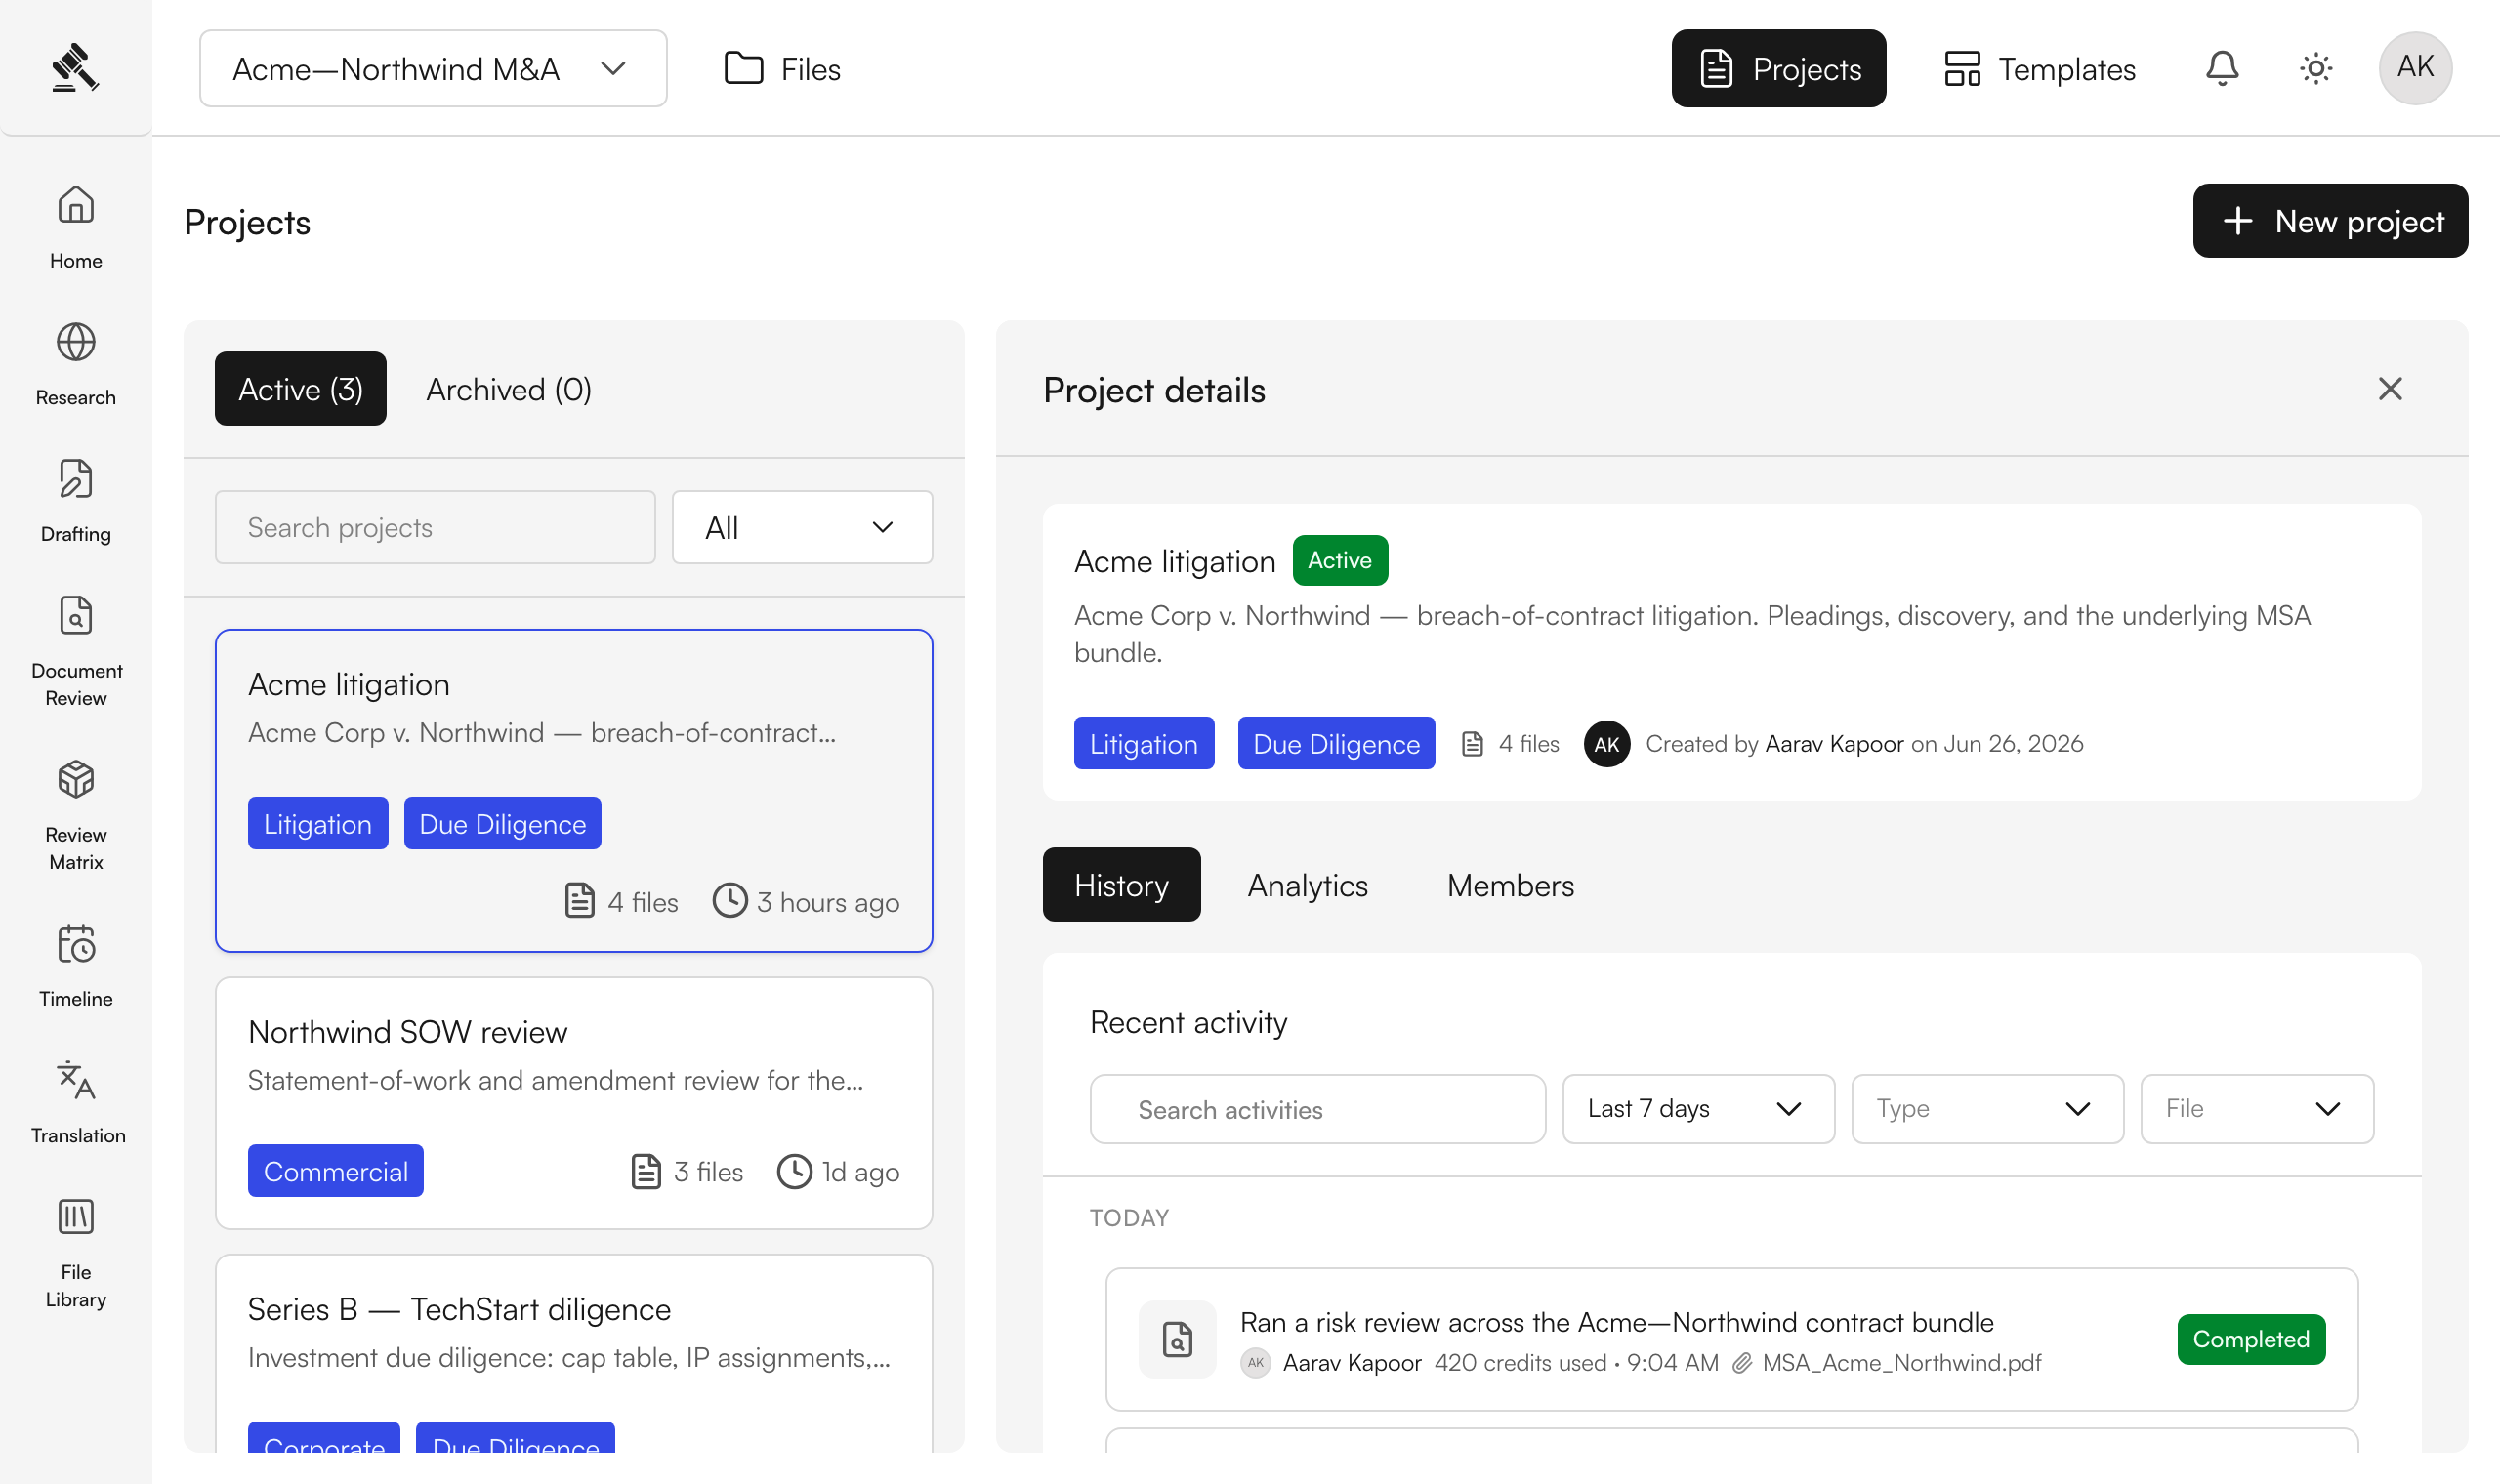
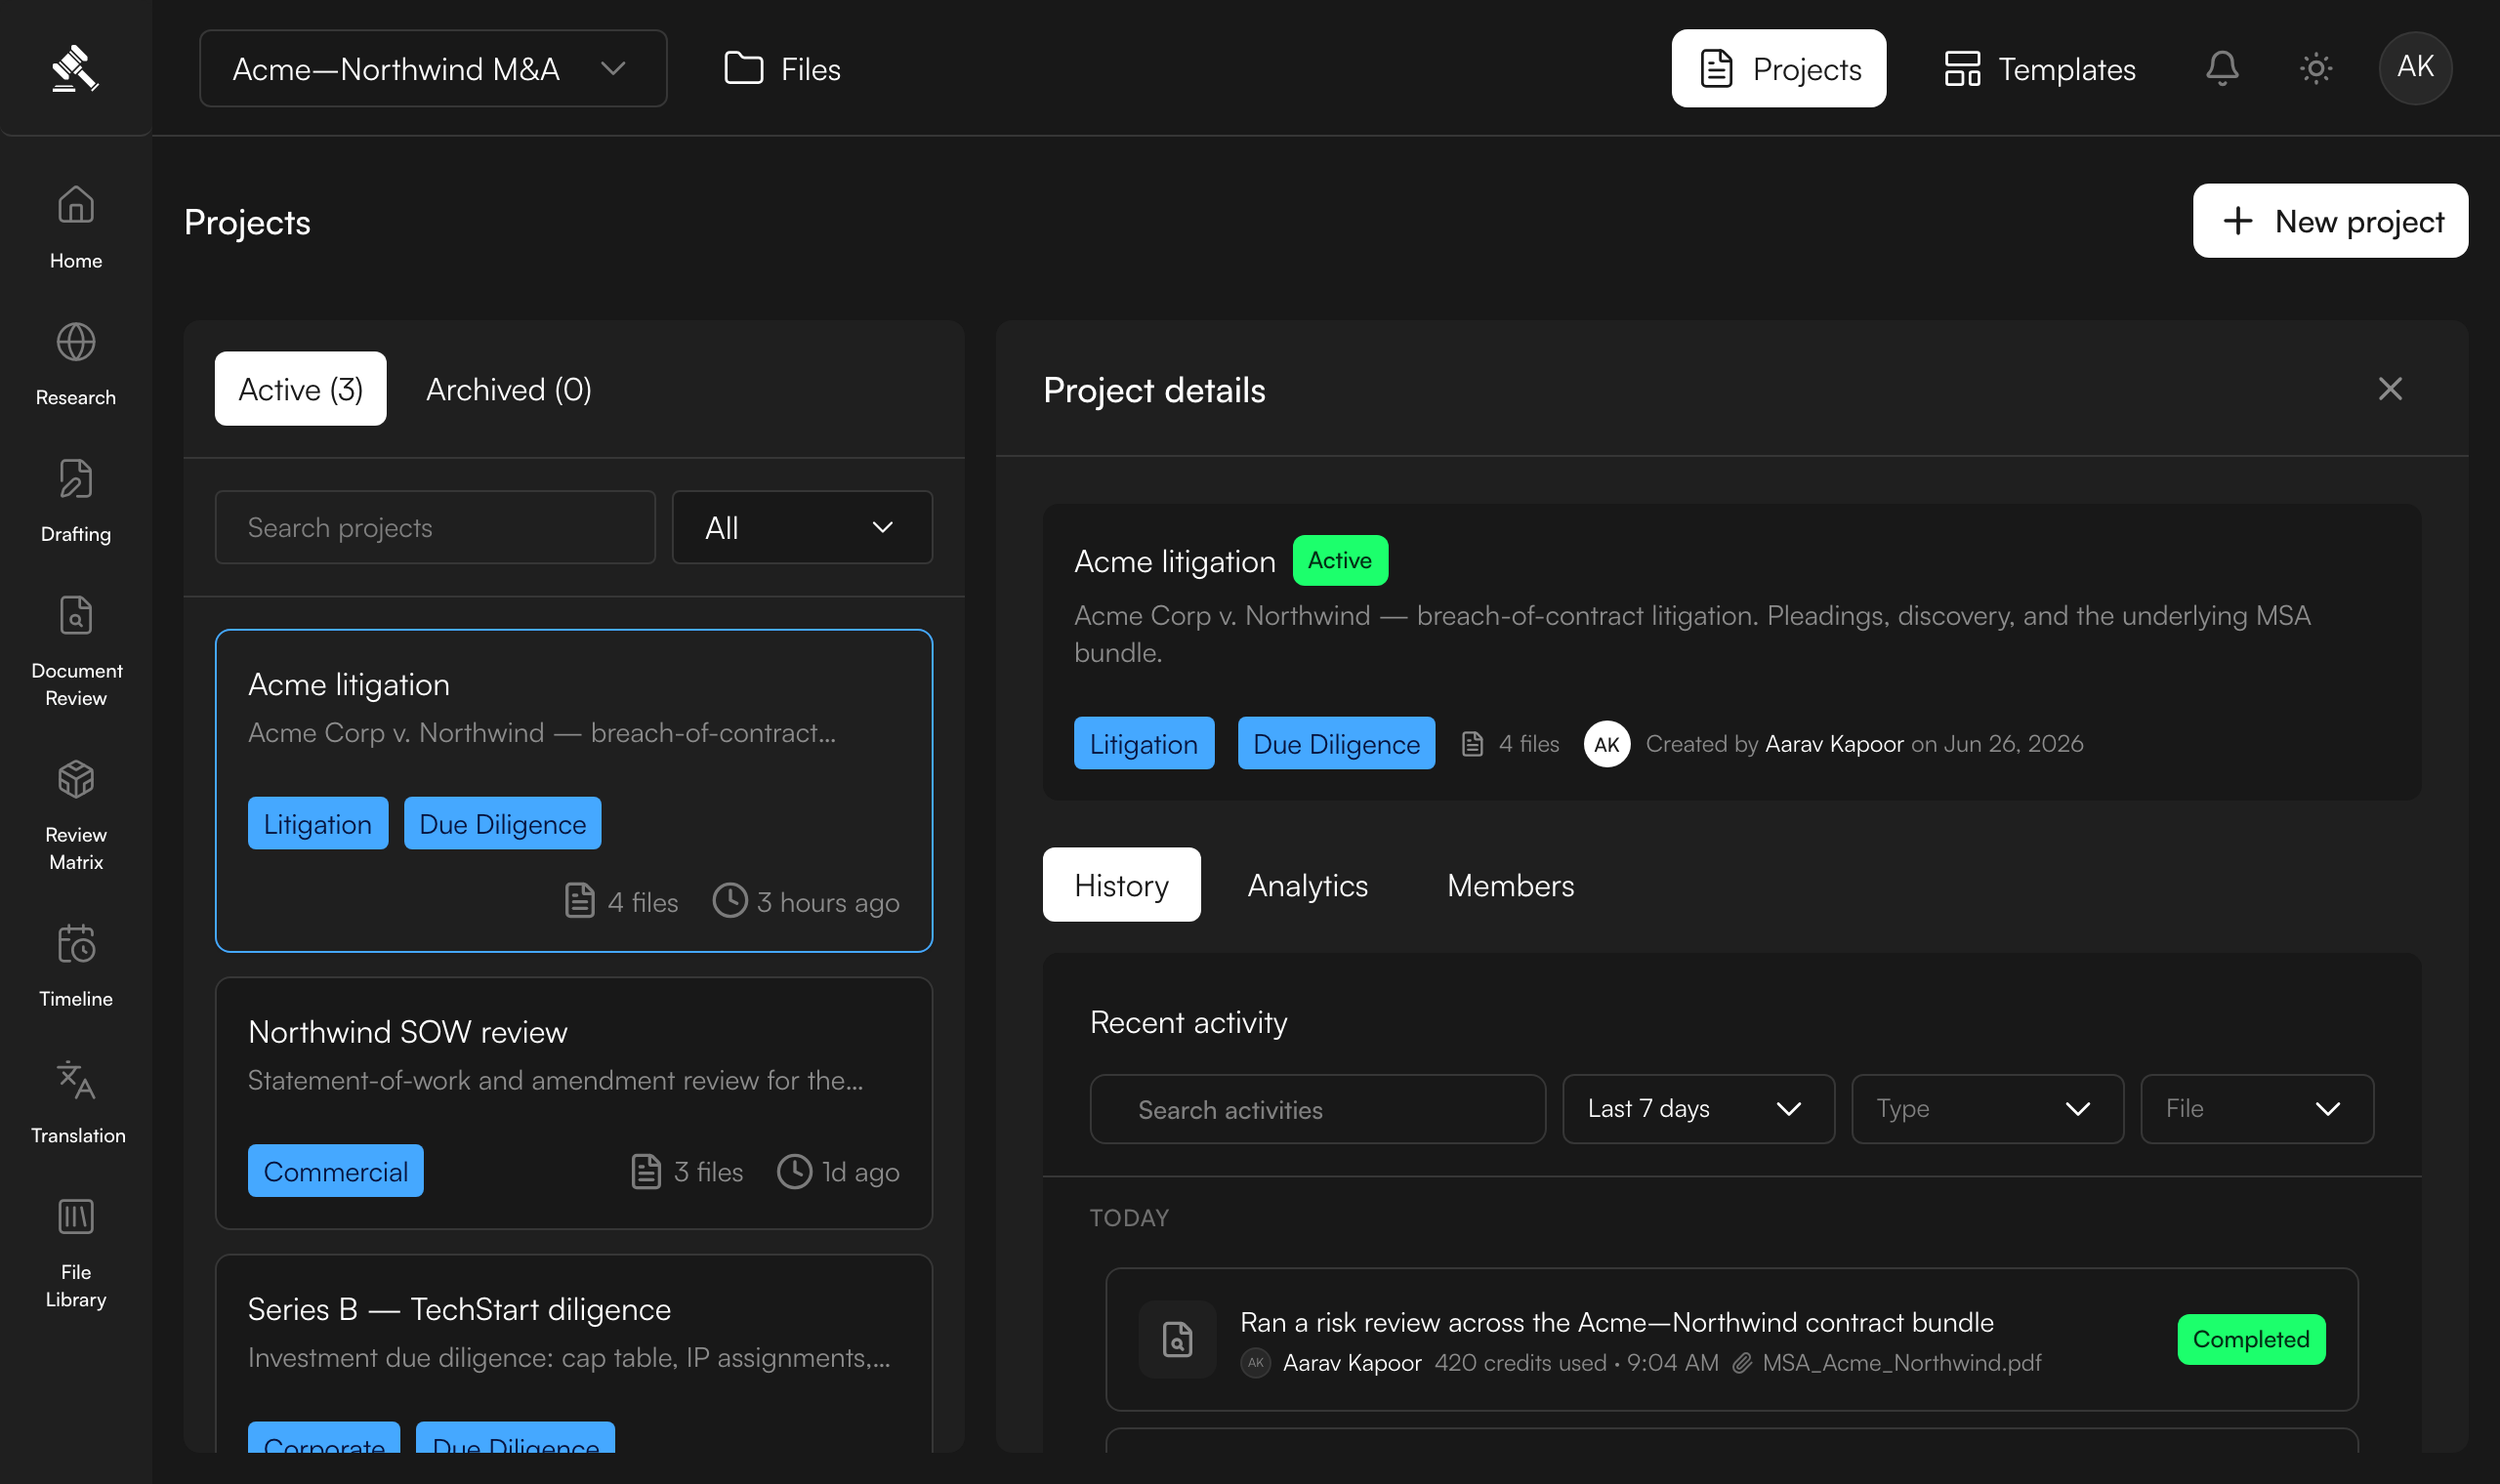
Read the activity trail
Open the History tab for a searchable record of everything done in the project — who ran what, on which files, and when, with a status on every run. Each row shows the colleague, the feature, a one-line summary, the credits used, the time, and a file chip where the run was on a single document.
Narrow it down with the filters: search, a date range, the type of work, or a specific file. See Project History for more.


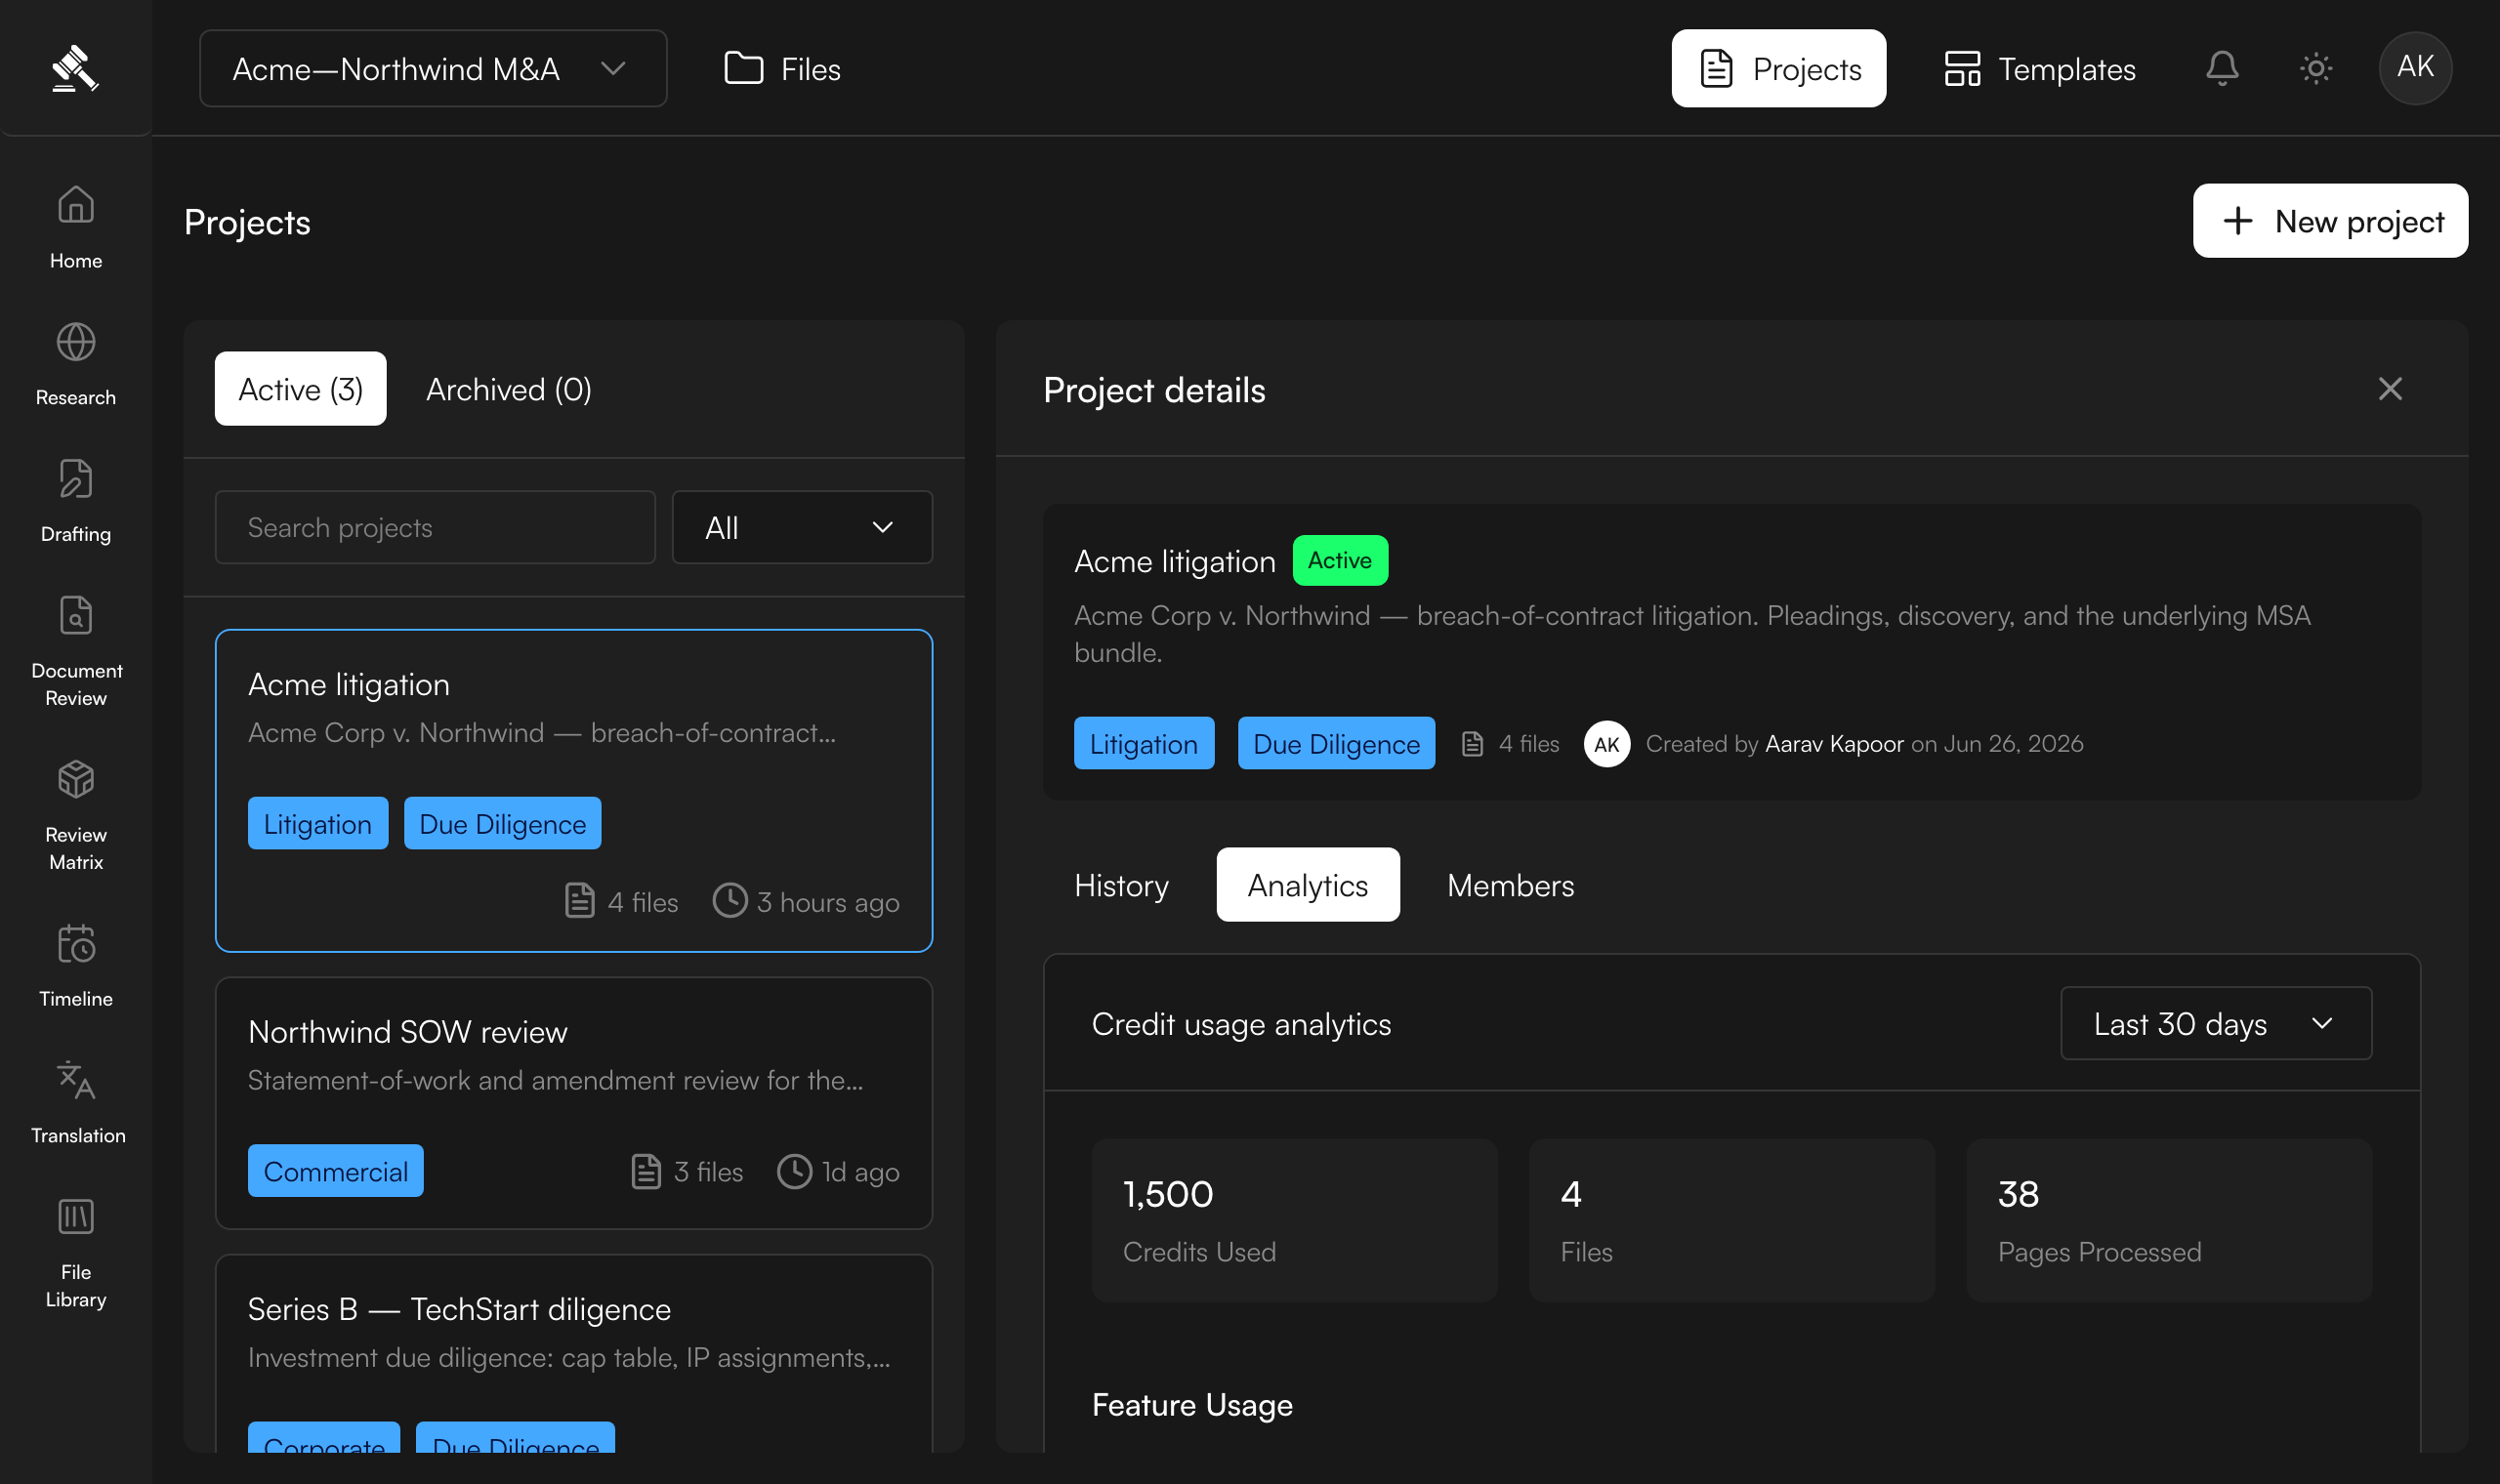
Check project analytics
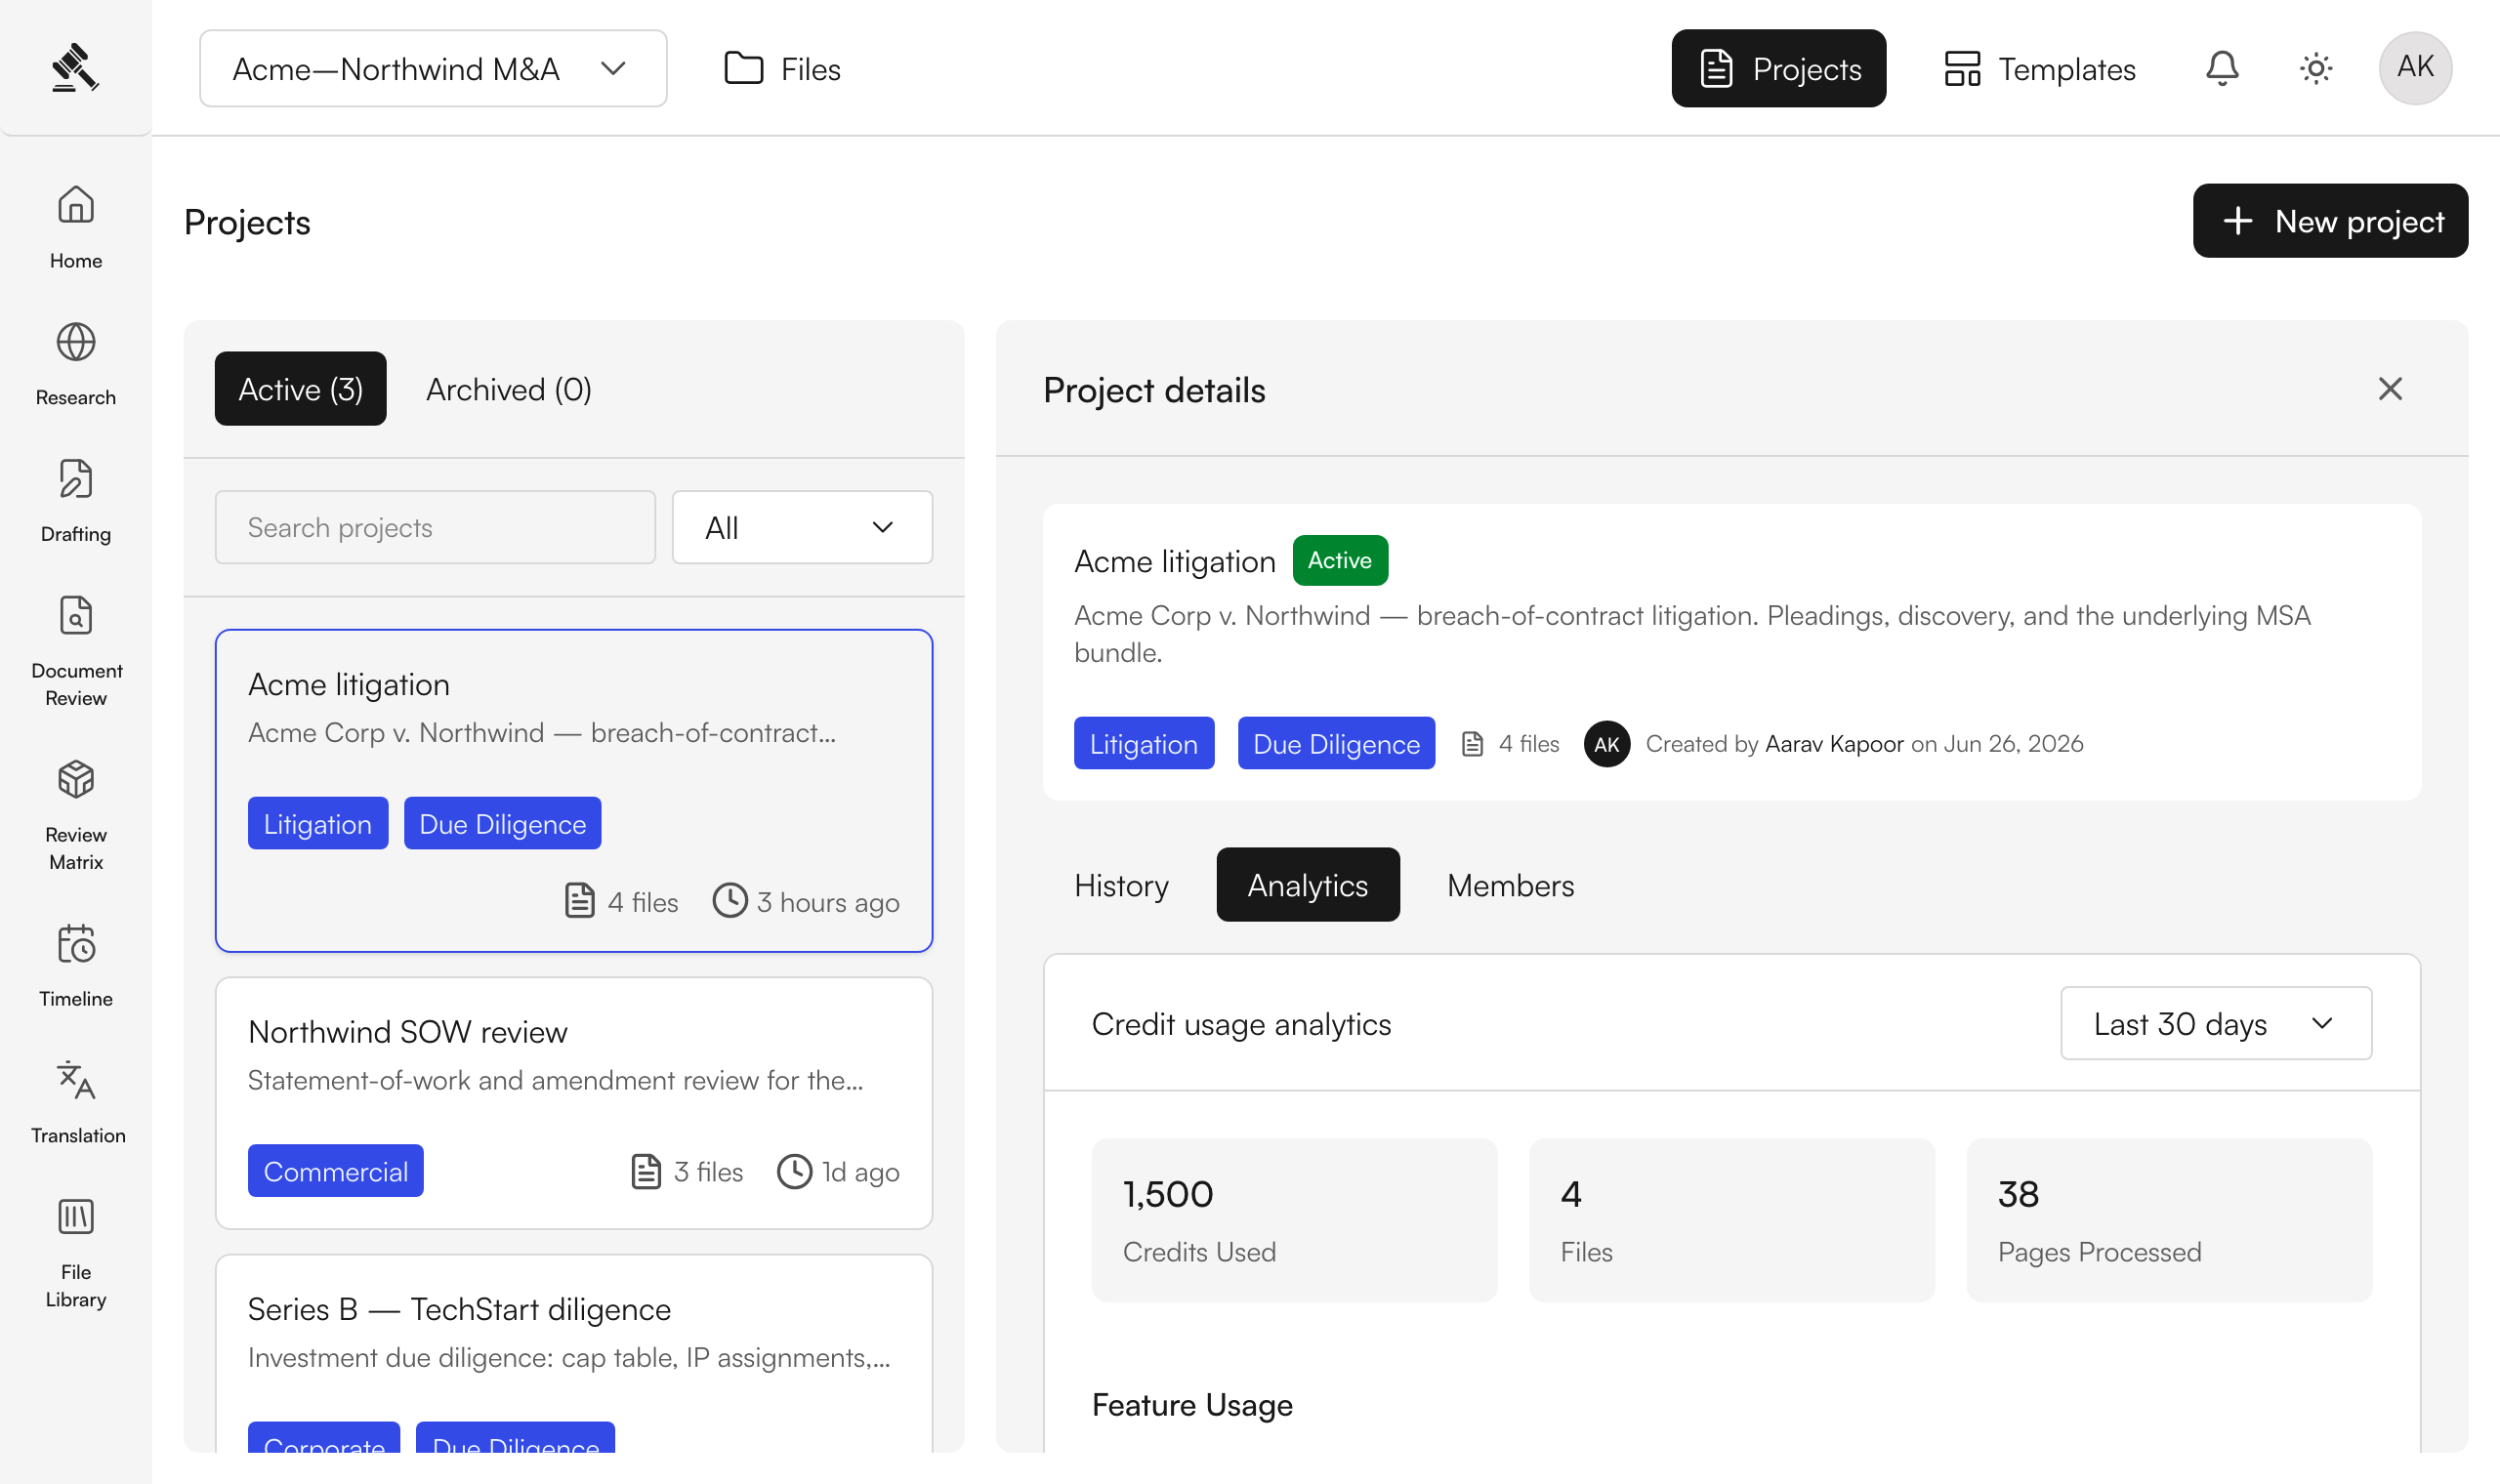
Open the Analytics tab to see how credits are being used on the matter — usage by feature, by member, and over time. The card shows totals (credits, files, pages), a per-feature breakdown, a usage chart across the selected period, and a per-member contribution table.
Switch the period (Last 7 / 30 / 90 days, or All time) from the dropdown in the card header.
Next steps
- Managing Members — invite team members and assign roles.
- Project History — track every action with the full activity trail.
- Archiving Projects — archive projects when the work is complete, and restore them later.